
January - June 2021 Round Robin


 04-17-2021, 04:01 AM
#502
Super Member

Join Date: Jul 2013
Location: South Dakota
Posts: 8,122
Very nice additions happening! I'm not sure if I'll work on Carrie's round 2 this weekend, or something else. I've pulled an assortment of fabrics but not settled on anything yet. I've got a pretty good idea of what I'm going to do, but that is still "percolating" so I may work on sampler blocks instead. Though I started playing with dresden plates so maybe I'll end up with a totally different idea than what I'm thinking of now!
04-17-2021, 04:30 AM
#503
Senior Member

Join Date: May 2020
Location: Sunset Coast of Michigan
Posts: 960
Hi Round Robinettes, I finished the bottom border of Me. Moose last night, after 3 different colors of moose on the bottom, I settled on this one because the other 3 weren�t too visible. I did the Michigan white pine, corner top block and river birch bottom with 3-D leaves. It�s off to it�s next destination :-) I kept a progress folder in my photos. Hugs!
 04-17-2021, 08:57 AM
#505
Super Member
Join Date: Jan 2013
Location: Florida
Posts: 3,824
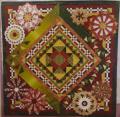
Here's a pic of current status. Trying to pull all together for final round on Mona's gp 2.
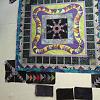
The corners mimic the center and the border is flying geese. Yes, they aren't straight, artistic license.
The corners mimic the center and the border is flying geese. Yes, they aren't straight, artistic license.
04-17-2021, 12:21 PM
#507
Senior Member
Join Date: May 2020
Location: Sunset Coast of Michigan
Posts: 960
Originally Posted by petthefabric

Here's a pic of current status. The corners mimic the center and the border is flying geese. Yes, they aren't straight, artistic license.
04-17-2021, 04:31 PM
#508
Super Member
Join Date: Jan 2013
Location: Florida
Posts: 3,824
Hopefully this will be clear (as mud), I don't write directions for a reason.
Start by stacking fabrics wanted for backgrounds (mine are 4 different dark purples). Cut 2.5 inch Diagnol strips. Subdivide these strips into triangles with the hypotanos along the edge of the strip. I'll add more photos in the next post.
For the geese. Cut 2.5 inch strips, then subcut like the background. There's an important difference that will be in the next photos.
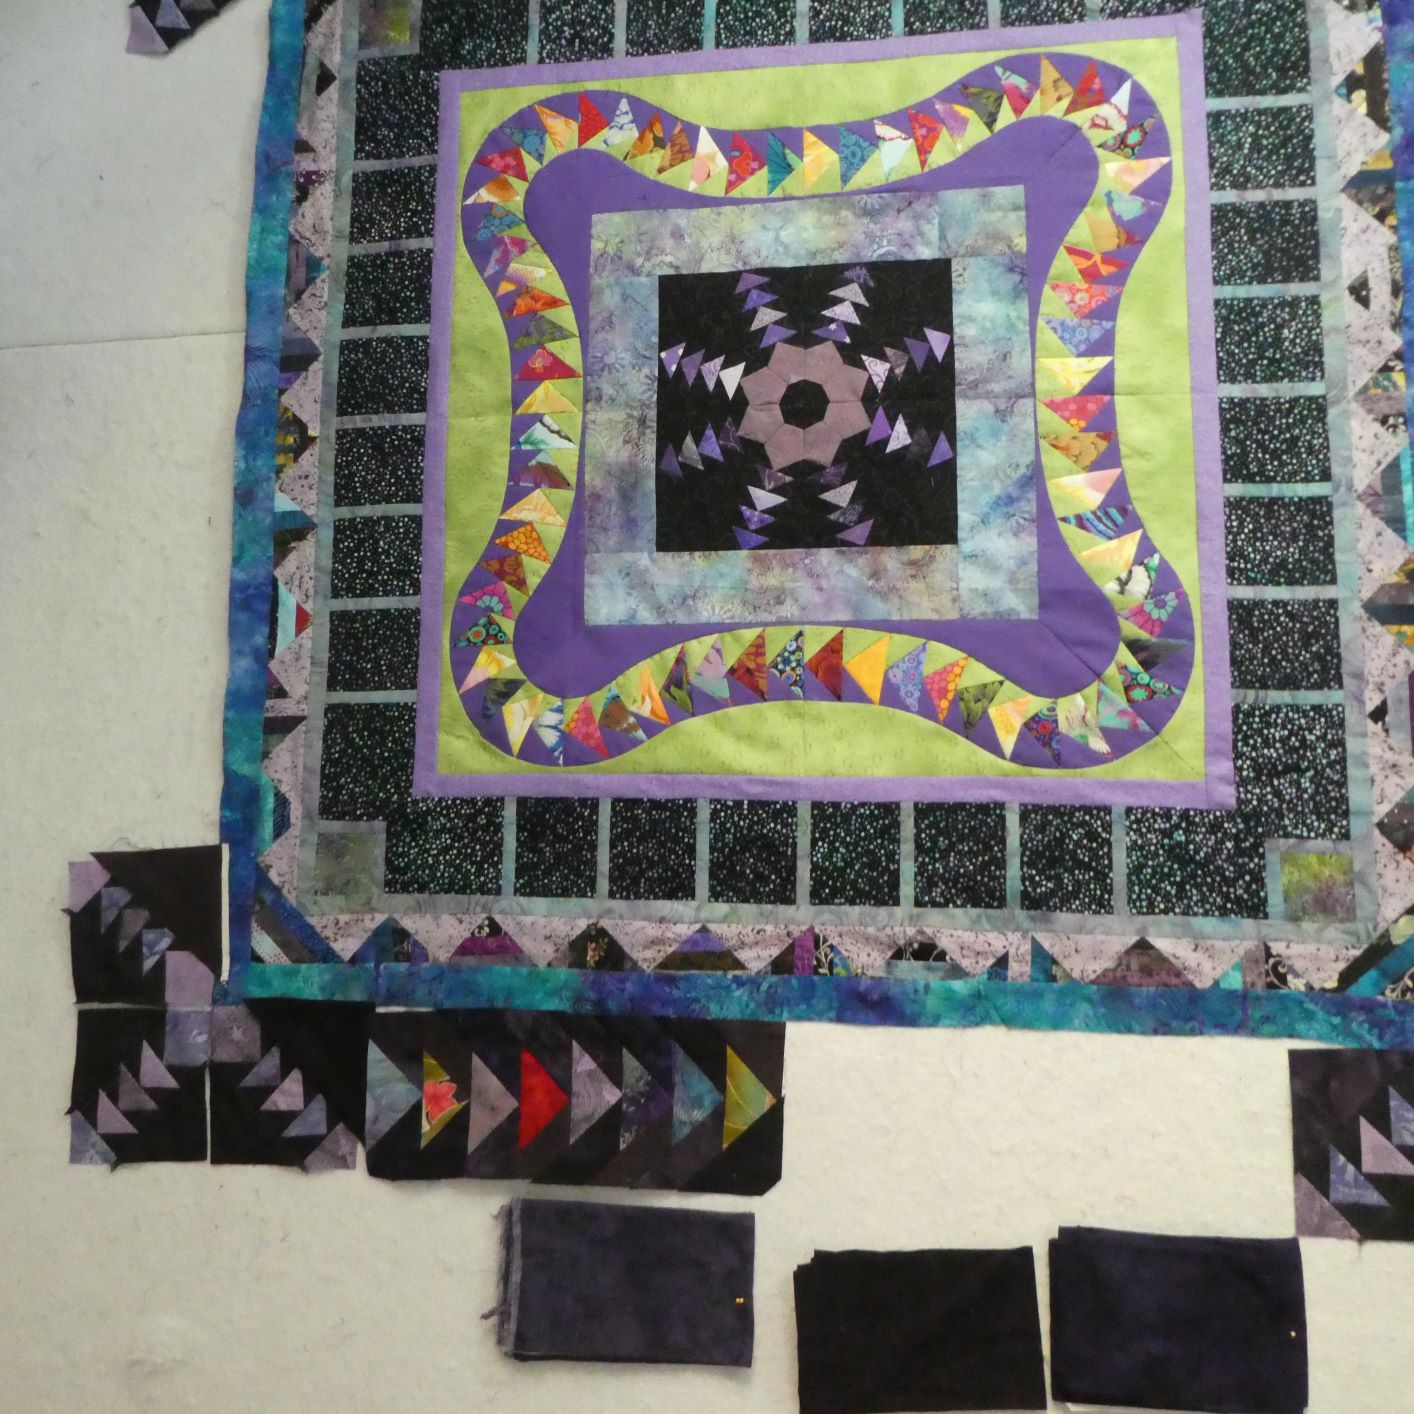
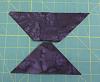
Attachment 632850 I start at the bottom with the center triangle. B.Then add a triangle on each side, pressing seams out. C.Then trim the top of that section so there's 1/4 inch seam allowance above the goose and the bottom edge lines up with a measurement line on the ruler. #2 Goose: Place the goose with the long side of the triange touching the point of the first goose. It can be moved to the left or right of center. I moved it 1/4 inch for a grandual wave. Trim the previous dark background to allign with the bias sides of step 2 goose. The repeat B and C. A chalk measurement of 6.5 inches will help to keep the geese within the area desired and that the backgrounds are covering to the edge. Repeat to the desisred length. Trim to desired width. Stitch triamgles into the notches at the outer edge of top.
Now for more pictures.
Start by stacking fabrics wanted for backgrounds (mine are 4 different dark purples). Cut 2.5 inch Diagnol strips. Subdivide these strips into triangles with the hypotanos along the edge of the strip. I'll add more photos in the next post.
For the geese. Cut 2.5 inch strips, then subcut like the background. There's an important difference that will be in the next photos.
Attachment 632850 I start at the bottom with the center triangle. B.Then add a triangle on each side, pressing seams out. C.Then trim the top of that section so there's 1/4 inch seam allowance above the goose and the bottom edge lines up with a measurement line on the ruler. #2 Goose: Place the goose with the long side of the triange touching the point of the first goose. It can be moved to the left or right of center. I moved it 1/4 inch for a grandual wave. Trim the previous dark background to allign with the bias sides of step 2 goose. The repeat B and C. A chalk measurement of 6.5 inches will help to keep the geese within the area desired and that the backgrounds are covering to the edge. Repeat to the desisred length. Trim to desired width. Stitch triamgles into the notches at the outer edge of top.
Now for more pictures.
04-17-2021, 05:08 PM
#509
Super Member
Join Date: Jan 2013
Location: Florida
Posts: 3,824
More pictures
Couldn't get the first picture to upload. It shows cutting 2.5 inch strips diagnal from background.
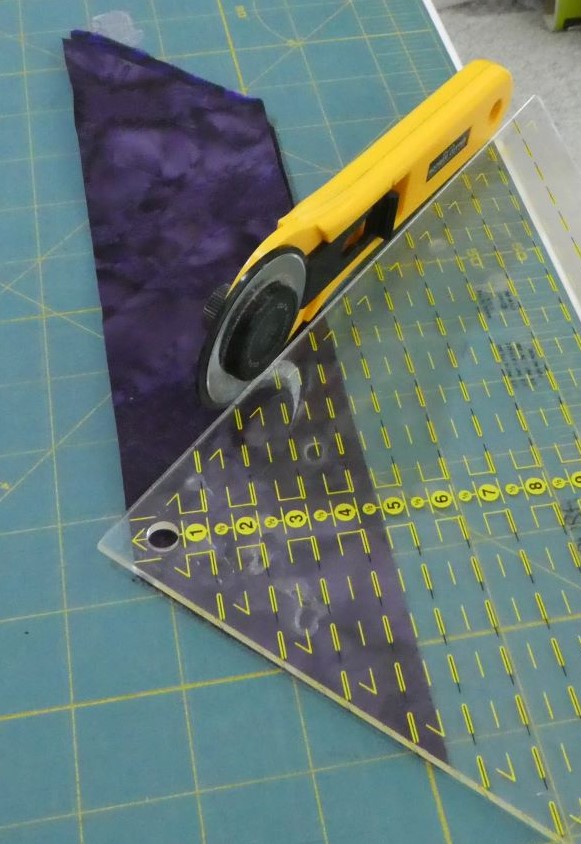
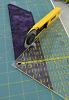 This shows subcutting strips. The ruler I'm using is from Omnigrid and ~20 yrs old. Many other companies are making them now.
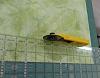
 This shows subcutting strips different sizes. As the goose travels from one side to the other, longer strips are required on the side that is the farthest from the edge.
 This show cutting strips WoF 2.5" wide
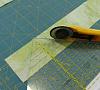 This show subcutting strips into geese, using the same triangle rules as above.
After the length of flying geese is made, I trim the sides to the width I want, in this case 6.5".
Couldn't get the first picture to upload. It shows cutting 2.5 inch strips diagnal from background.
 This shows subcutting strips. The ruler I'm using is from Omnigrid and ~20 yrs old. Many other companies are making them now.
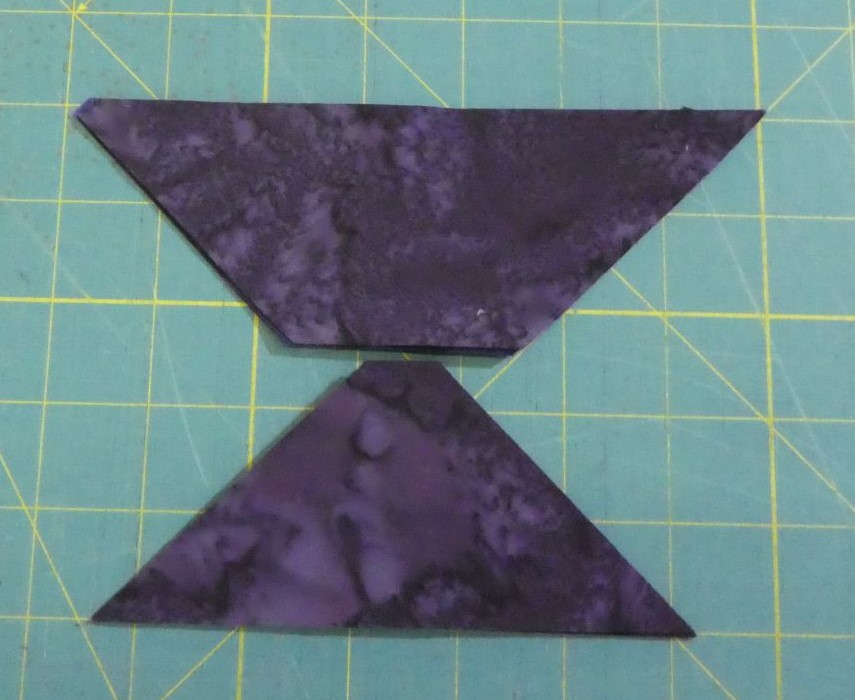 This shows subcutting strips different sizes. As the goose travels from one side to the other, longer strips are required on the side that is the farthest from the edge.
 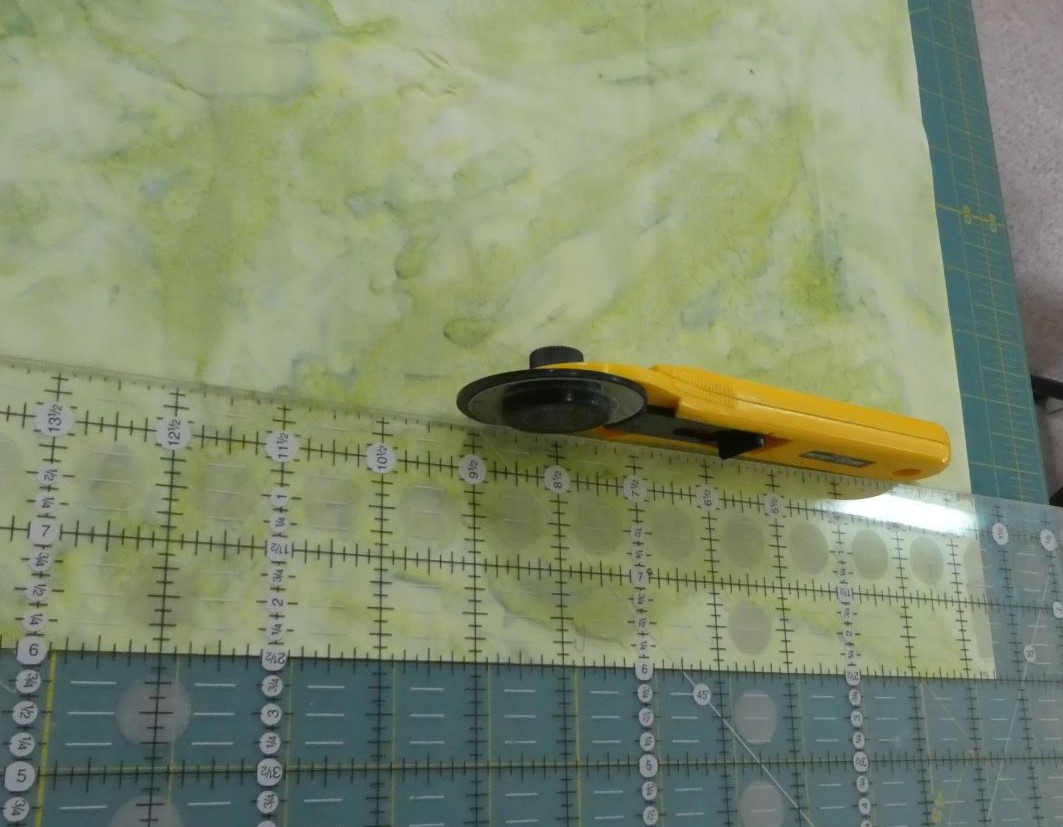 This show cutting strips WoF 2.5" wide
 This show subcutting strips into geese, using the same triangle rules as above.
 After the length of flying geese is made, I trim the sides to the width I want, in this case 6.5".

