Many of us have our own method of QAYG. I have previously posted my method for narrow join QAYG. Here is how I do wide sashing QAYG. I took pics as I assembled it, so they may help with understanding the process, for anyone who is interested.
Mine is a 9 block quilt, 3x3. I used 3" sashings and borders. Top and bottom sashings were different. This photo shows the top and bottom sashings clipped to the right edge of a first block of a row of 3, right sides towards the block. The same will be done with the second block.

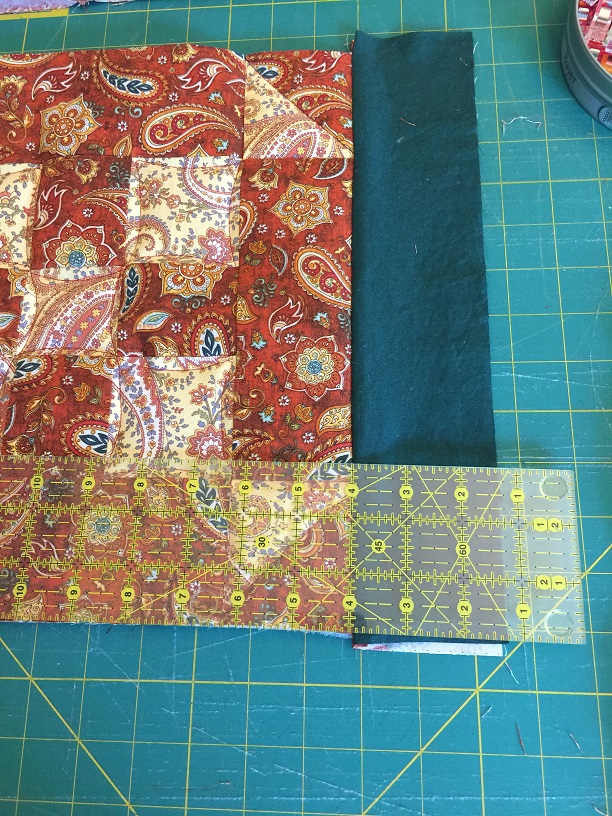
This shows the back side of this step.
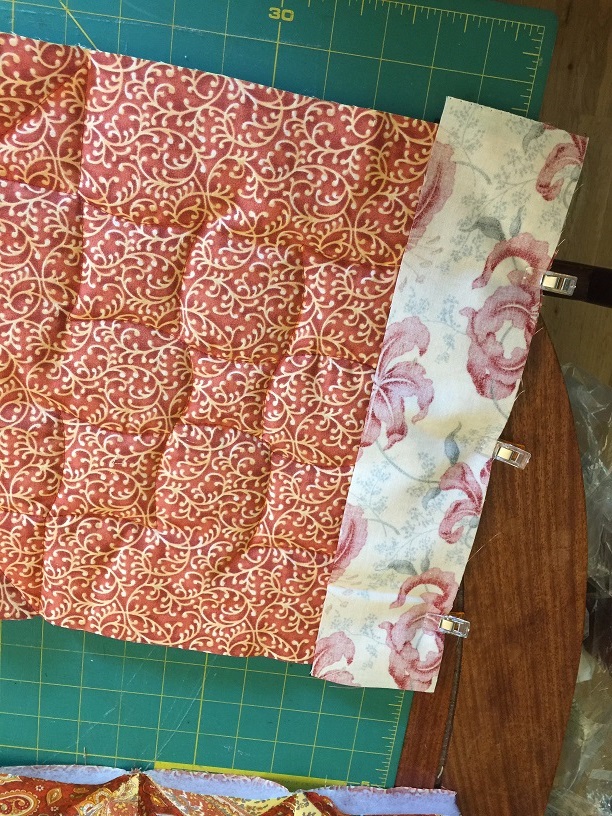
Sew 1/4" seam and press sashing pieces away from the block. Trim top and bottom edges of sash even with the block. Then press under 1/4" on the long edge of the top sash. Repeat this step with the second block in this row.
Join the first block to the second... peel back the front sash and sew only the back sash to the right side of the second block, 1/4" seam.
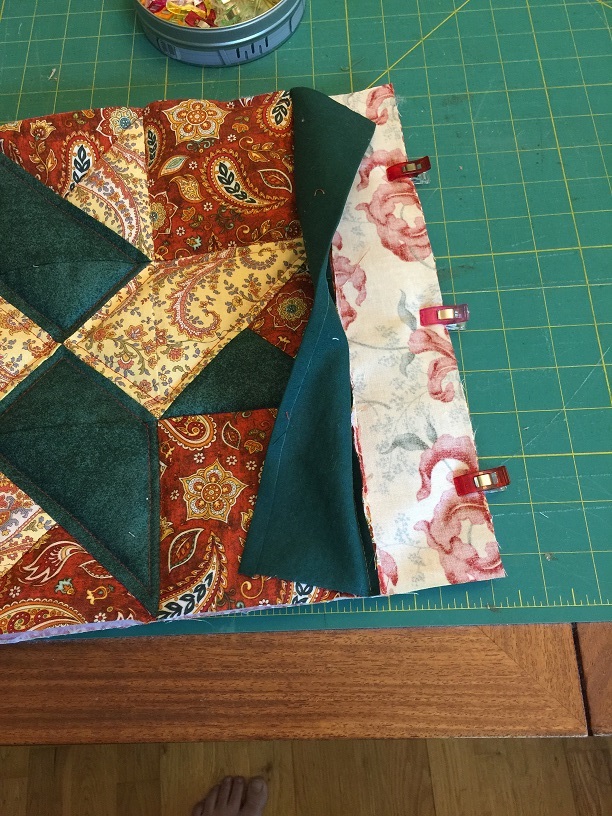
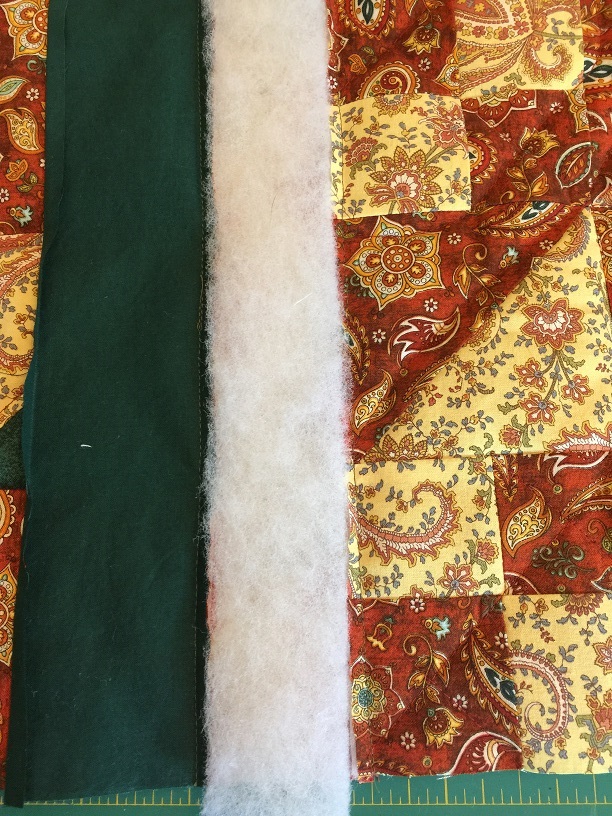
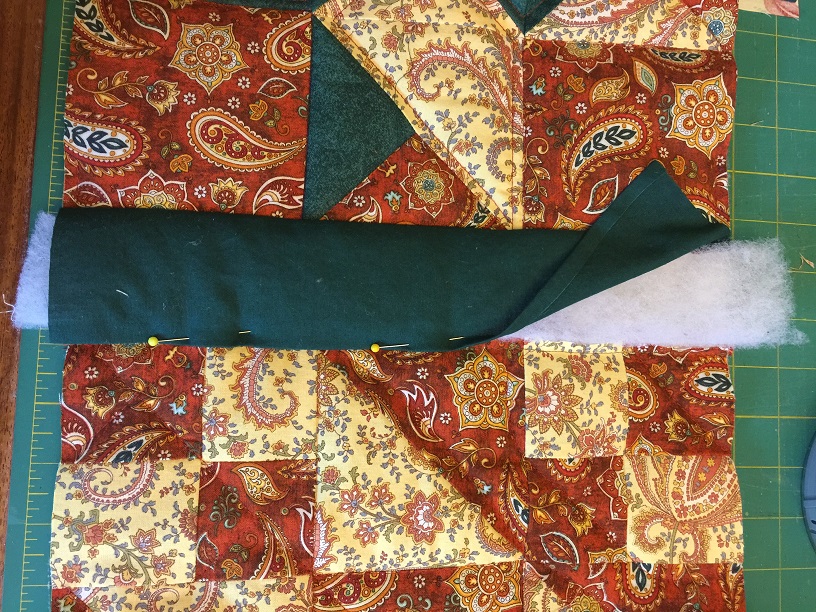
Open out the second block and press the seam allowances towards the sashing between the blocks. With the two seams pressed in, this leaves a 2" gap that you will fill with a batting strip. Cut the batting 2" wide x length of your block.

Pat the batting strip in, between the seam allowances, so it is 'nested' with no overlap.
(Picture insisted on loading sideways), but close the top sash and pin the folded edge just over the stitching line on the block.
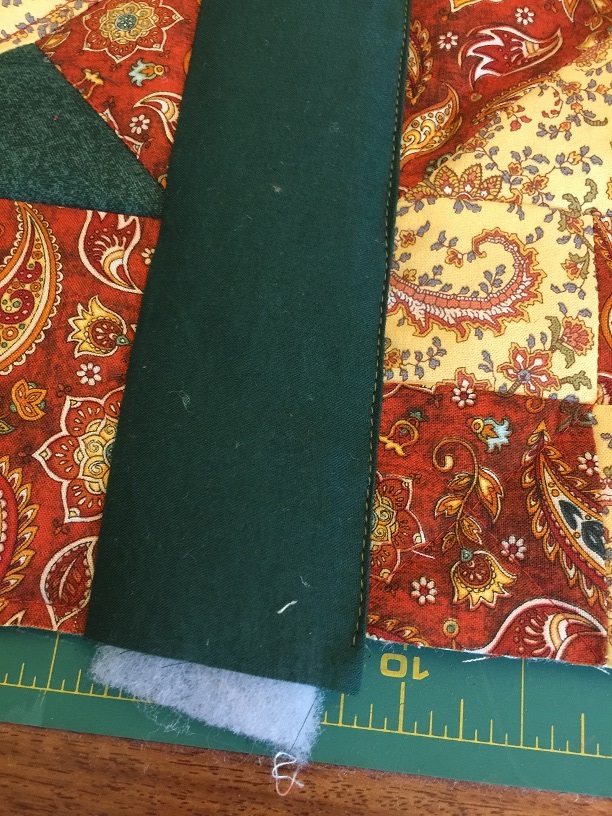
Then in the best matching thread you can find, topstitch close to the fold edge. Trim top and bottom of sash even with the blocks. Repeat this for the joining of the second block to the third block. Then join all of your horizontal rows in this same manner.
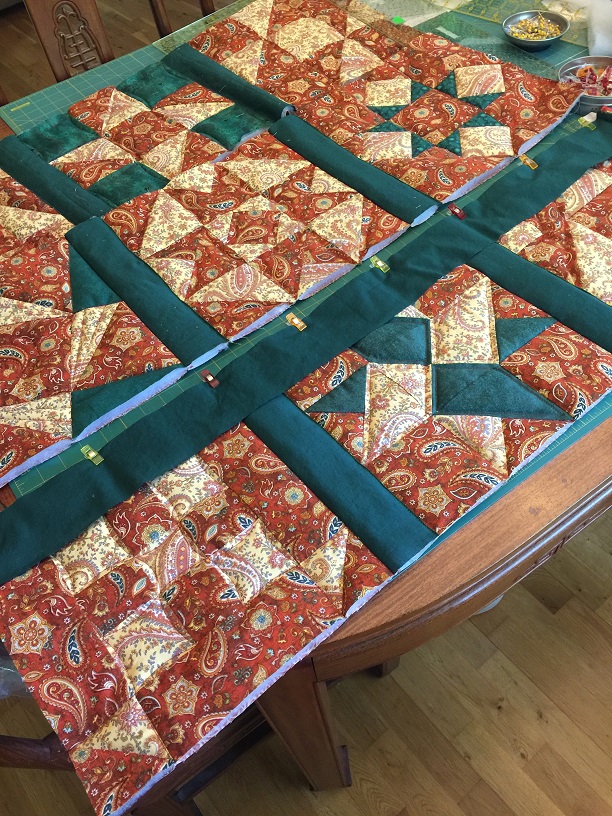
Here are my 3 horizontal rows all joined. Now the rows will be joined in exactly the same manner as the blocks, with only one additional thing to consider:
be sure to mark the intersections on the sashing so that your vertical sashings line up. When they are 'off' it's very unsightly, so take an extra minute to get this right. Here are my two sashings, right sides towards the row, ready to be sewn. Sew a 1/4" seam and press open as you did for the vertical sashings.
(more in the next post, below.)