
1930s Singer 201 Tension Assembly
 02-26-2021, 09:01 AM
#11
Junior Member
Join Date: Jan 2020
Location: Ontario
Posts: 299
Originally Posted by robert_

Thank you. It seems it is a 201 from Wittenberge in Germany but there isn‘t much info as the Russians destroyed everything or later reused the factories for other supplies. Quite a lot learned today.

 03-31-2021, 09:42 PM
#12
Member
Join Date: Mar 2021
Posts: 1
Originally Posted by robert_
Dear all,
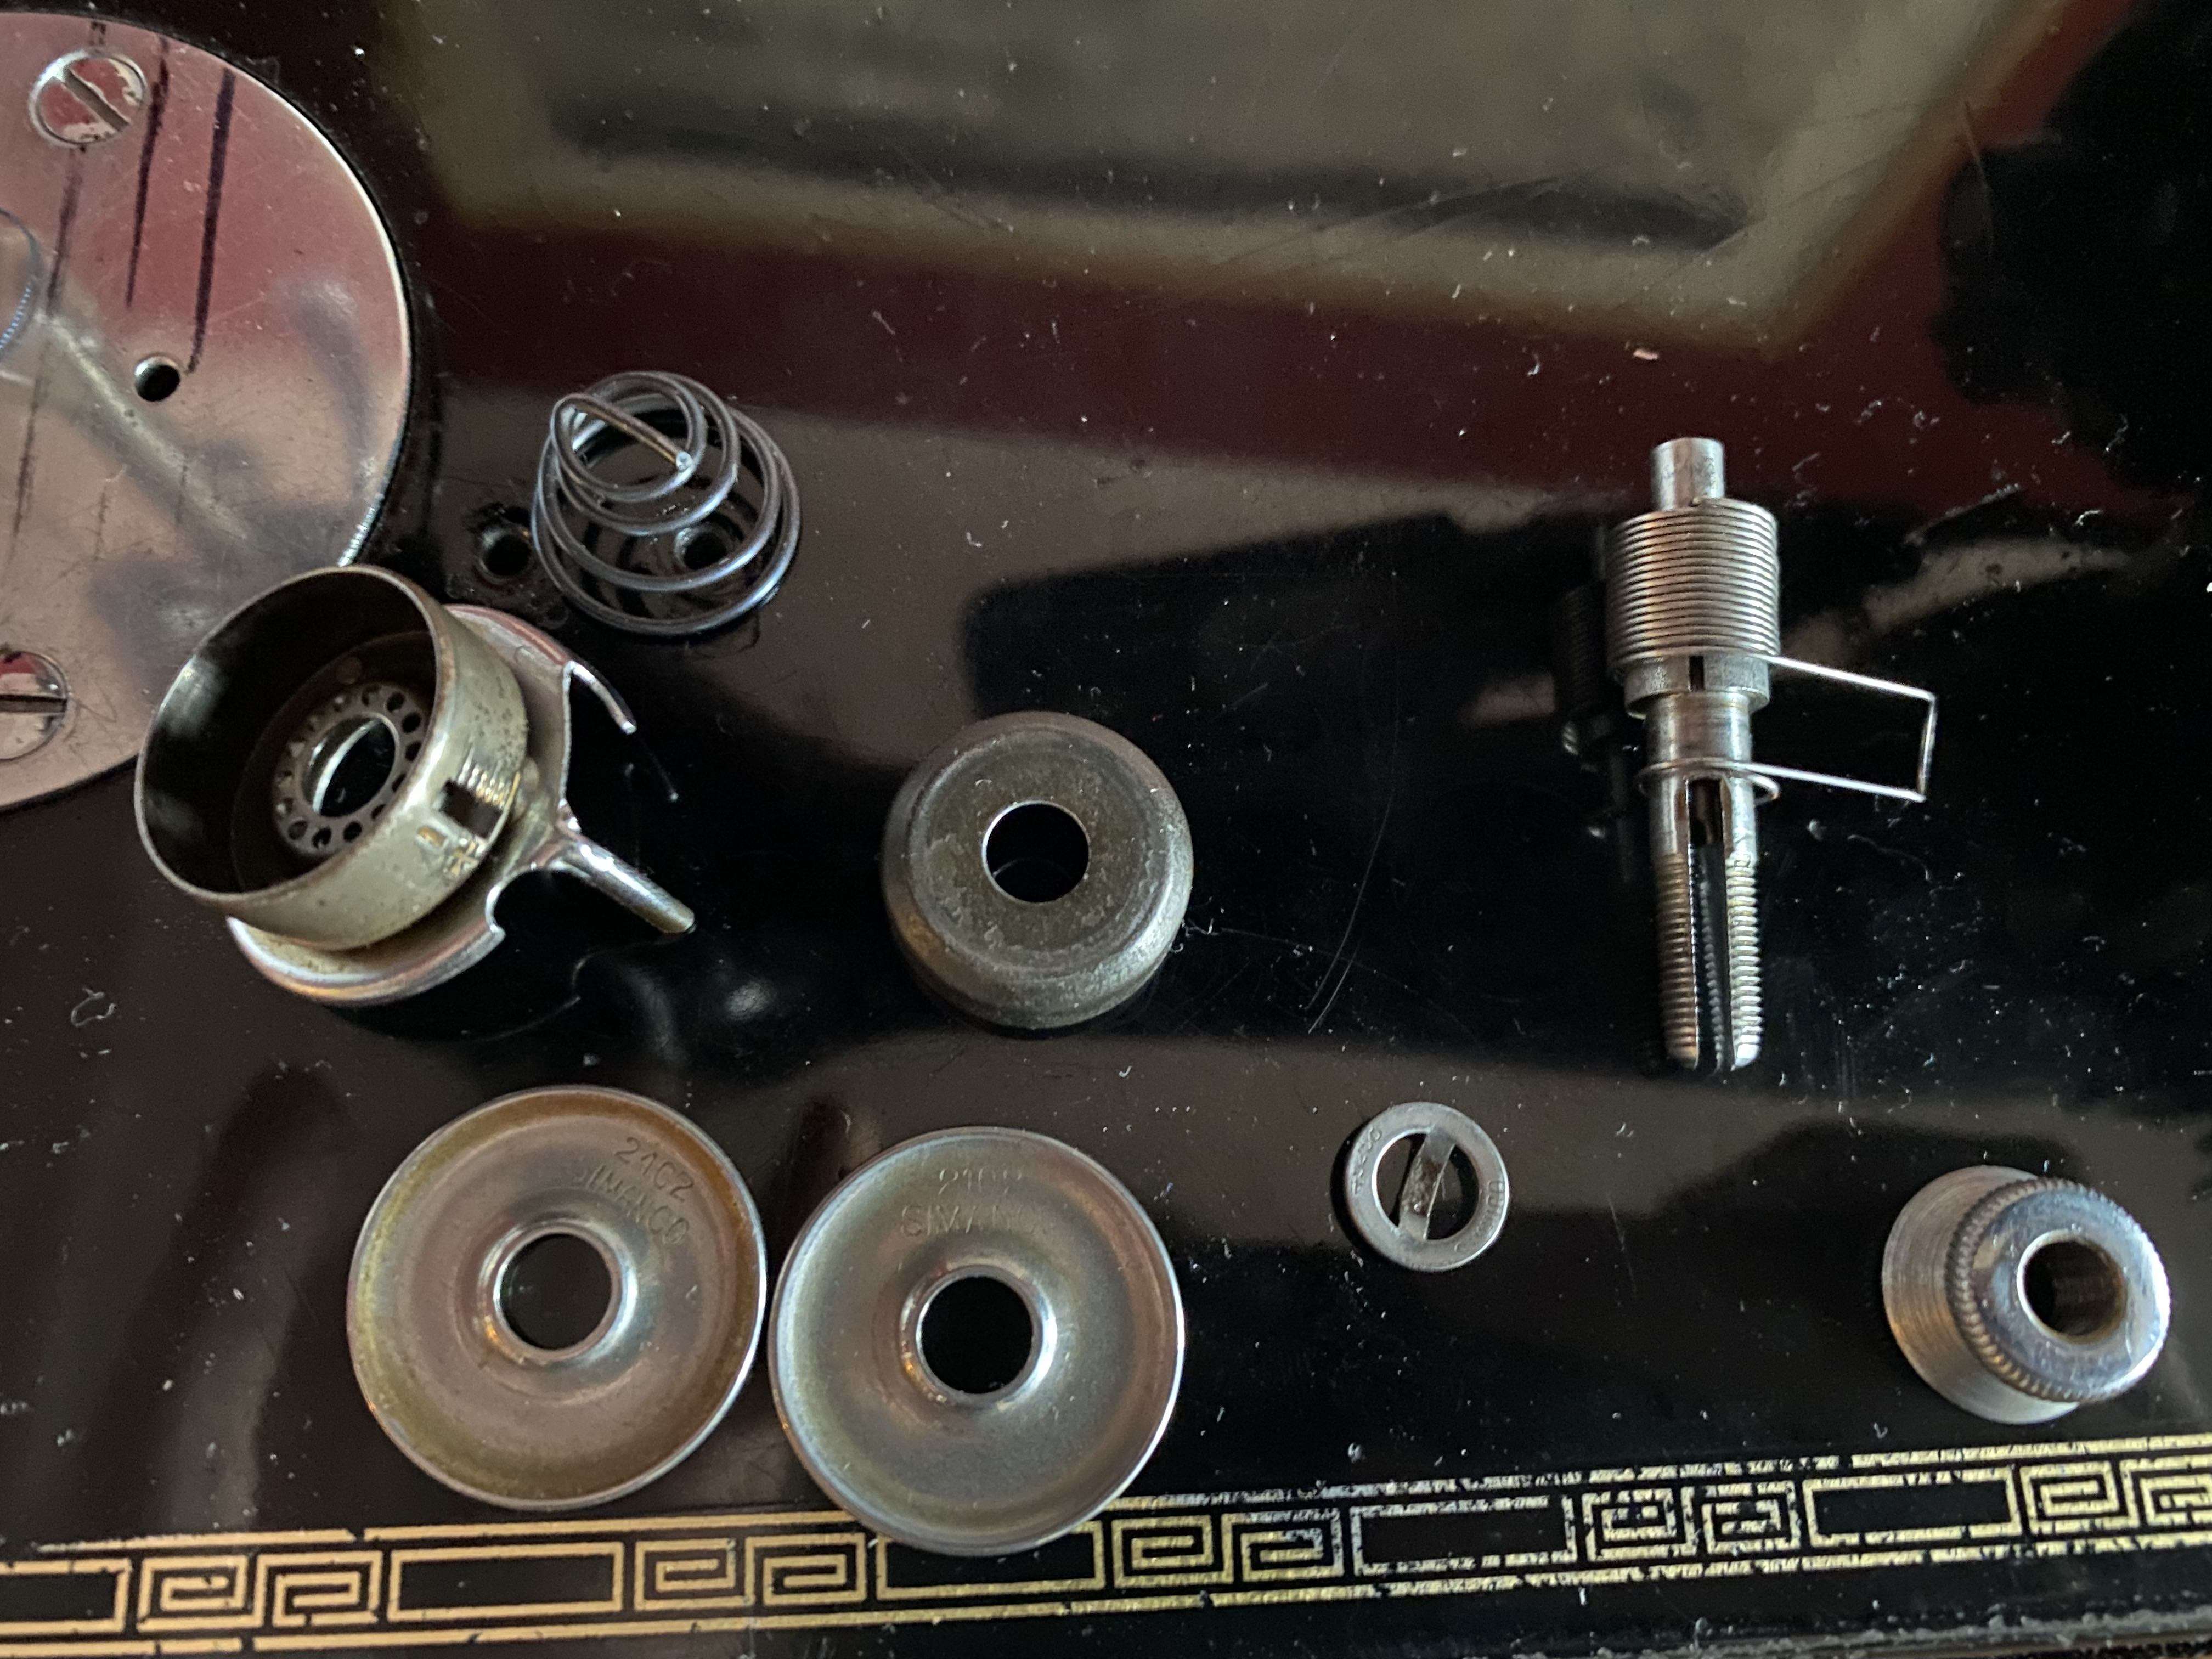
first of all let me thank you for all the information I already found here. I recently got an old Singer 201 from a friend in the family and have been trying to get it to run smoothly. It is a 1930s version build in Wittenberge, Germany. One of the last pieces in the puzzle is the tension assembly as the thread spring was bent I had to get a new one. Unfortunately this is a singer without the dial later Singers used. It only uses a little bent thingy to show the tension which is totally fine. But I cannot for the life of me figure out how to assemble it correctly. Does anyone have any idea or a manual that shows this particular version of tension assembly? I couldn't find one anywhere.
Any help is appreciated,
Best, Robert
 I tried swapping it with a new assembly but the tension pin also had to be replaced and it just was a little off somehow so I had to get the old one working 😃
03-31-2021, 09:46 PM
I tried swapping it with a new assembly but the tension pin also had to be replaced and it just was a little off somehow so I had to get the old one working 😃
03-31-2021, 09:46 PM
#13
Member
Thread Starter
Join Date: Feb 2021
Posts: 8
Oh, thank you. Yes, I figured it out. I cut off a bit of the spring so that it fits better into the disc assembly. That did the trick. Currently I’m struggling with the stitch length lever as that tends to move up when sewing thicker fabrics therefore not holding the stitch length of say 3.5mm. If you have any suggestions regarding that problem I’d appreciate it. But that is an entirely different problem :-)
03-31-2021, 11:41 PM
#14
Member
Join Date: Feb 2020
Location: Copenhagen
Posts: 61
Regarding the stitch length lever moving.
If you take off the handwheel, you are able to access a screw with a screwdriver. The screw is also a shaft for the movement of the stitch length lever and it got some spring washer below the screw head. You may be able to fasten this screw more, and get higher friction to the stitch length lever, so it will not move that easy. But you can only do that to some level of friction.
If you need to have the mechanics explained, then this video do it quite well: https://youtu.be/tRmQilh_UgI
I have fasten this screw as much as I can on my Singer 201k, and I still got the problem you describe. When I sew with a max stitch length of 4 mm on thick heavy fabric, then the lever moves and the stitch length may become 3.5 mm. At the moment I solved the problem by a elastic cord around the pillar of the machine, that is able to hold the lever down. You may put some thread around the screw head or something else to increase the friction. I should like to know, if you find a solution.
04-05-2021, 12:36 PM
#15
Member
Thread Starter
Join Date: Feb 2021
Posts: 8
Thanks, Gymnast. Thank you for the suggestion. I tried that and it works quite well. At least the lever only moves from 4mm to 3.8mm when sewing thicker material. Something else happened though: my longest stitch length even when set to 4mm is more like 2mm. If I set it to 2mm it doesn’t move at all. Might that screw be too tight?
04-05-2021, 02:10 PM
#16
Member
Join Date: Feb 2020
Location: Copenhagen
Posts: 61
Hopefully you have not bended the lever, so you have got an offset of 2 mm in stitch length. The friction should not be so high, that you are able to bend the lever. But a bended lever cause exactly what you describe happened.
04-10-2021, 01:36 AM
#17
Member
Thread Starter
Join Date: Feb 2021
Posts: 8
Dear Gymnast,
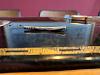
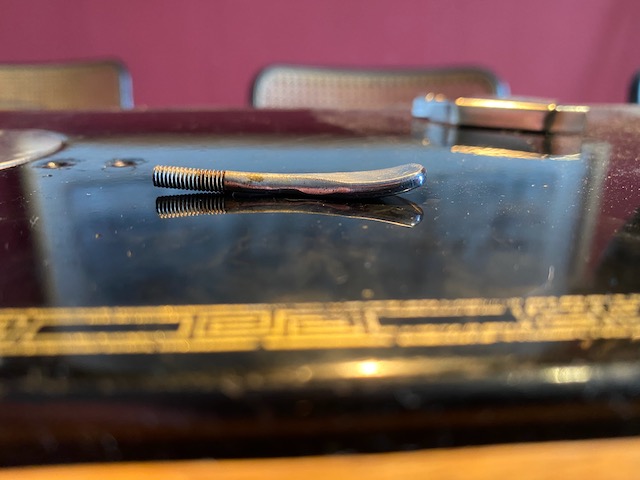
thank you for your reply. I checked everything and thought I’d post a picture of the lever. During the tightening of the screw I didn’t touch the lever but I always wondered why the 4mm stitch length seems more like 3mm. But it worsened after tightening the screw. It’s now not moving on 2mm as mentioned. Strangely when backstitching the longest backstitch is longer than the cut out for the feed dogs in the stitch plate.
but getting back to the stitch length lever. I assume it is not supposed to look like on the picture?
 04-10-2021, 02:13 AM
#18
Member
Join Date: Feb 2020
Location: Copenhagen
Posts: 61
If you place the lever at zero stitch length, and you got the fabric moving, then best option for the cause of this is that the stitch length lever has been bended. But the lever also consist of the inner part. It may also be bended, but I would be reluctant to start trying to bend it. If the steel is bridle cast iron, then it could break apart, if you try to bend it.
This is a picture of my outer lever:

This is a photo of the inner part:
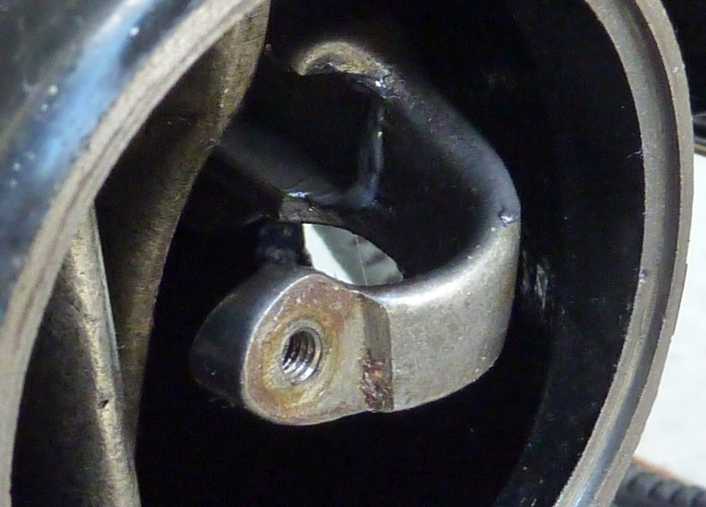
You are also able to find these parts for sale like here:
https://www.worthpoint.com/worthoped...ngth-253007806
This is a picture of my outer lever:
This is a photo of the inner part:
You are also able to find these parts for sale like here:
https://www.worthpoint.com/worthoped...ngth-253007806
Last edited by Gymnast2; 04-10-2021 at 02:24 AM.
04-10-2021, 02:54 AM
#19
Member
Thread Starter
Join Date: Feb 2021
Posts: 8
Thank you so much. I went ahead and just bended the lever slightly straighter in the back part, where the washer is. And I also checked the screws that go into the feed dog bar ok the bottom. I took them out completely and adjusted the bar so both screws are screwed in evenly. Both actions together seemed to have done the trick regarding normal stitch length selection. Again a slightly moving lever on thicker fabrics but I goes I just have to live with that to a certain degree.
During cleaning the machine when unscrewing the bottom screws I thought I check the grease pot on the left hand side and found out that my service guy didn’t clean there and it has a lot of old grease. I think I might have to find another service guy in berlin. :-(
During cleaning the machine when unscrewing the bottom screws I thought I check the grease pot on the left hand side and found out that my service guy didn’t clean there and it has a lot of old grease. I think I might have to find another service guy in berlin. :-(
