here is another tute excerpt showing how to enclose the tail end into the other tail end without sewing the two together at an angle. looks easy enough. i havent tried this method because i always make a hanging loop. this is how i miter my corners though. i just gave out the 18 pairs of potholders i made for christmas gifts or i could show you mine.
Step 2: Now we need to machine sew the binding to the potholder. You can follow our tutorial or use your own preferred method (be sure to compensate for the extra thickness of the potholder when choosing a binding width).
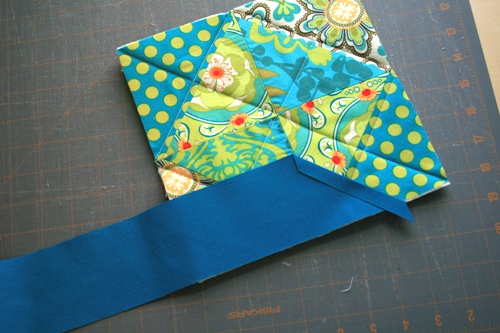
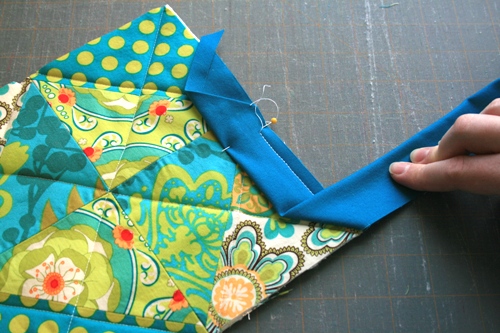
Trim one end of your binding strip to a 45° angle, place along the edge of the potholder (right side down) and fold over the edge ˝” (I like to press it with the iron to get a nice crease).
Fold your binding strip in half and pin ˝” away from the edge.
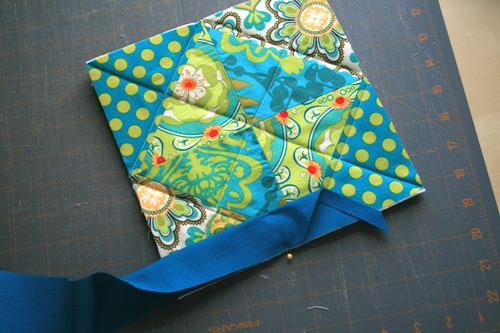
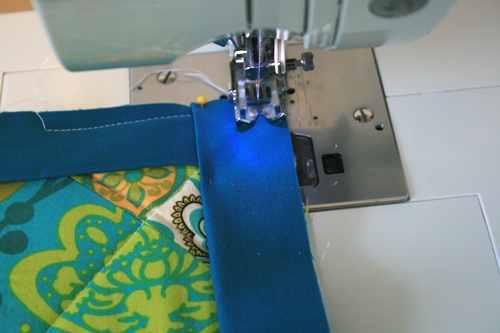
Start sewing at the pin and sew approximately 3/8” away from the side.
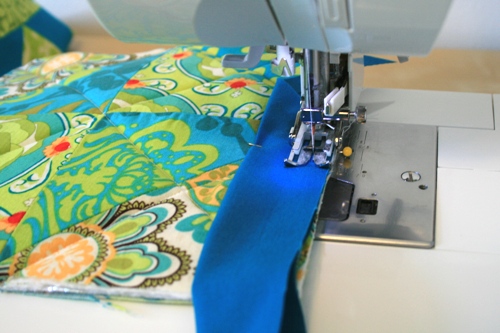
Continue until about 3/8” from the end of the potholder. Cut threads and remove from machine.
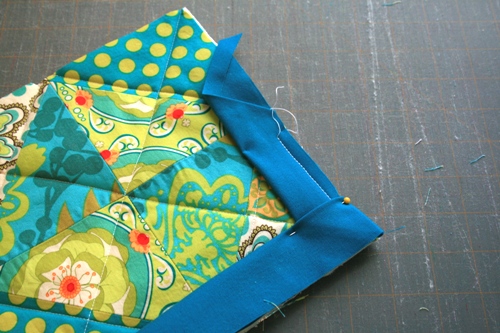
At the corner, pull back the binding perpendicular to the binding you just sewed down:
Then, fold the binding strip back over itself at the edge of the potholder. Hold in place:

And pin to secure your fold:
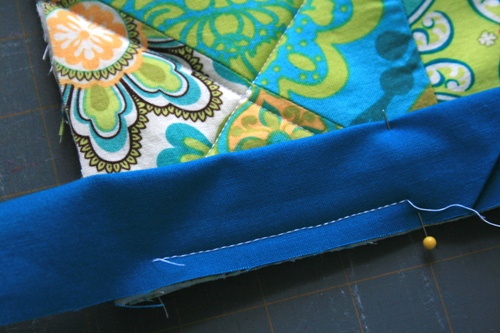
Begin sewing from the edge and keep 3/8” away from the side.
Repeat this process for the next three corners. Before you sew the last corner, trim the binding strip at an angle. Make sure it overlaps the beginning of the strip by about ˝”.
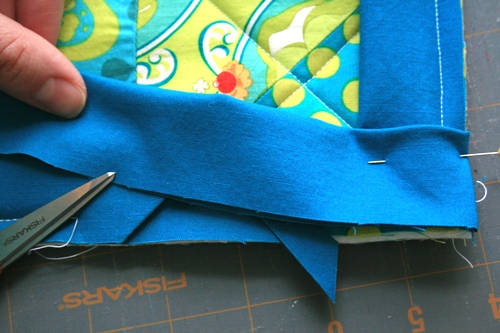
Tuck the edge under the folded edge and pin in place.

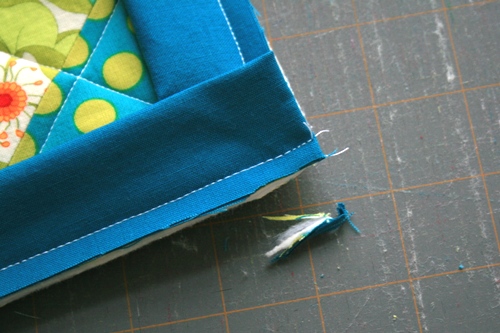
Sew until your stitches overlap and trim off the little triangle to reduce bulk:

I like to trim the corners a bit to prevent the binding from getting too bulky. If you want to do this, trim off a sliver of batting…but make sure to do it in
exactly the same place I did in the picture. If you trim the other side of the corner, you’ll cut a hole in your binding.
Press your binding away from the center (I use an iron to get a sharp edge)
