How I dressed a naked Singer.
12-9-11
A couple months back on another forum I asked a question: How to set up a naked Singer 99K?
I got a lot of suggestions and considered them. Several to make it into a hand crank machine. That was interesting, but considering my lack of coordination when using my treadle machines I figured I needed that hand for other things so I best put it back to electric.
So this is going to be a photo essay with some text:
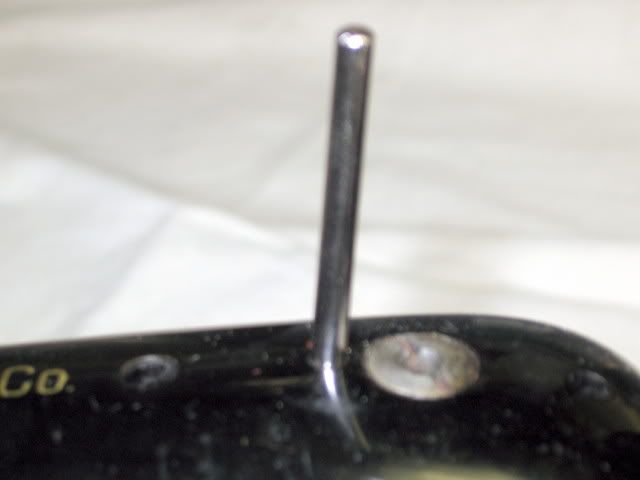
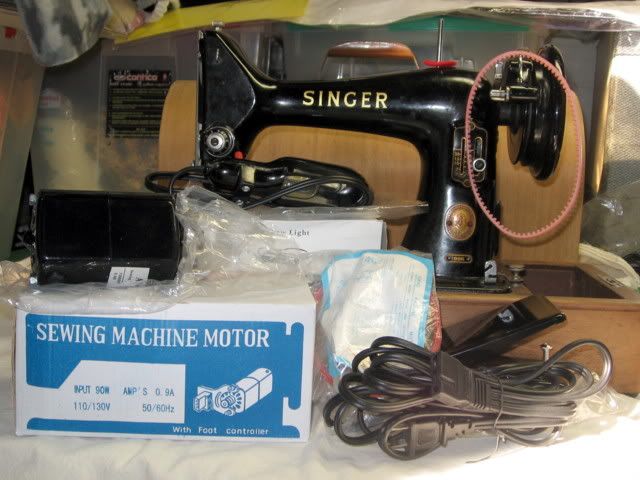
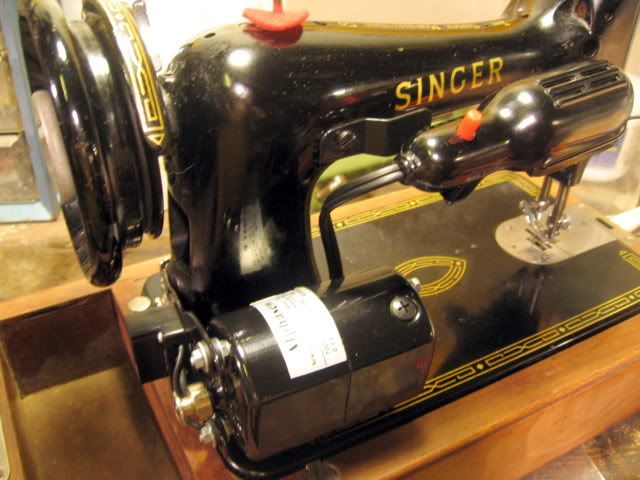
Here is the machine basically as it arrived to me, although by the time I took the photos I’d already replaced the missing spool peg, foot and foot screw:
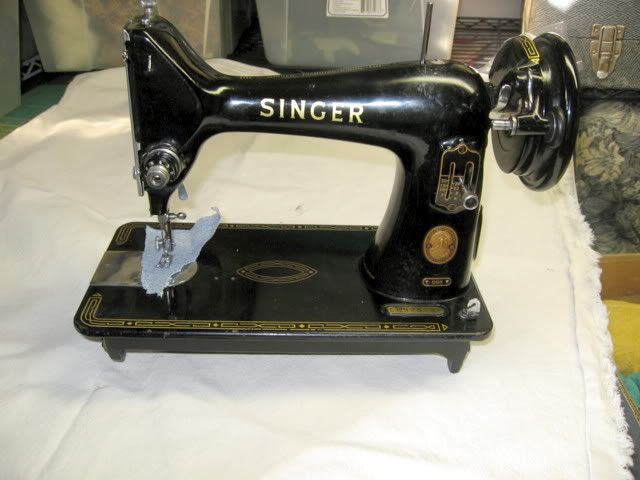
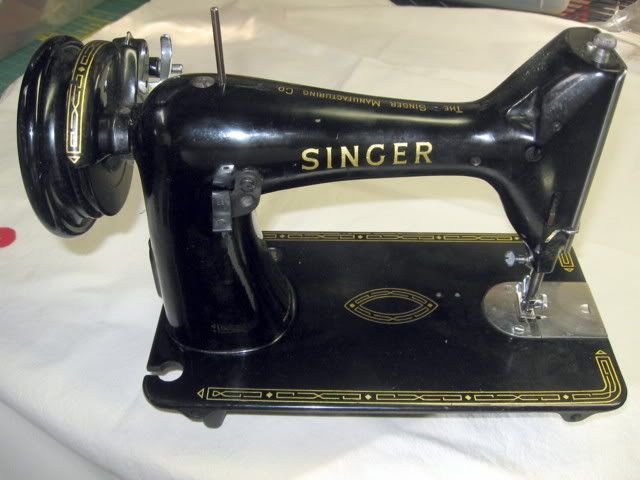
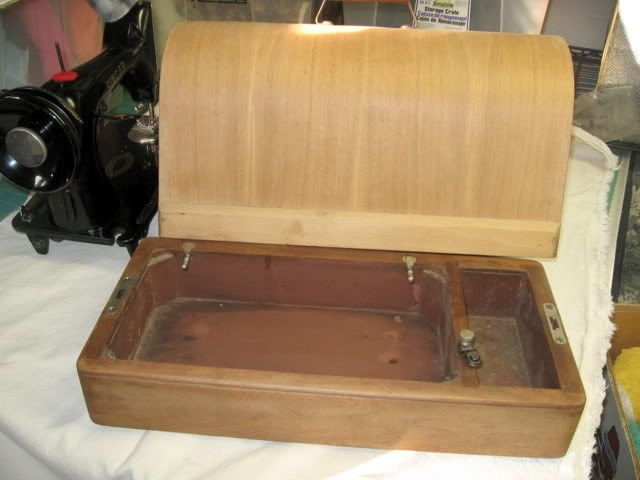
The foot, screw and round top case came from the local sewing machine shop.

The spool peg, motor kit, light and belt came from Sew-Classic,
(
http://www.shop.sew-classic.com/ ).
Alright, let’s get started.
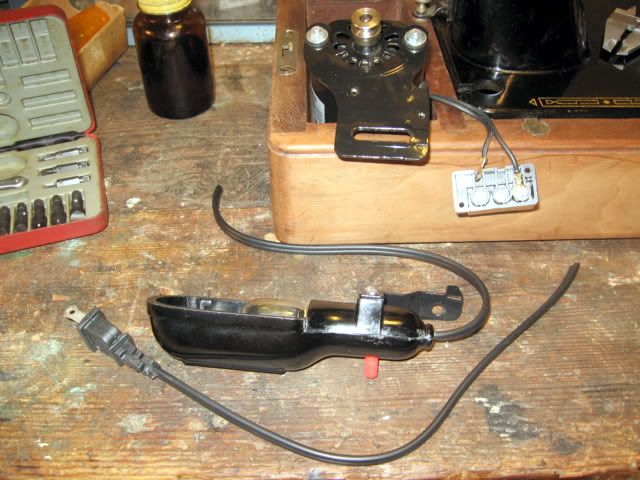
First I needed to amputate about 7” of extra cord from the light. It comes pre-wired
for use with an outlet block, but I wired it directly into the junction block on the motor bracket.
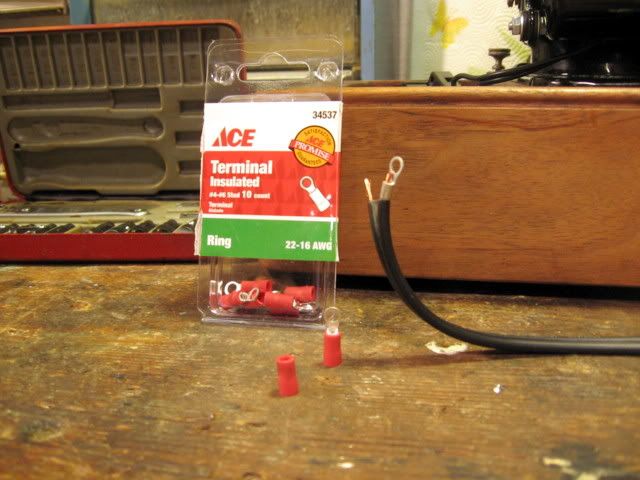
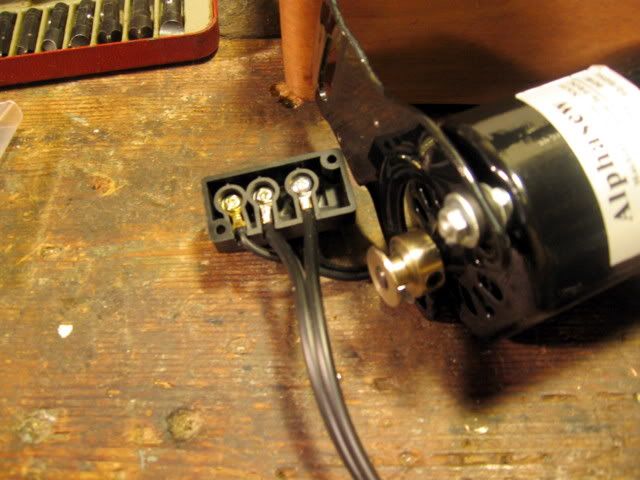
Then strip about 3/16” of insulation from the wire and remove the insulation from the ring connectors.
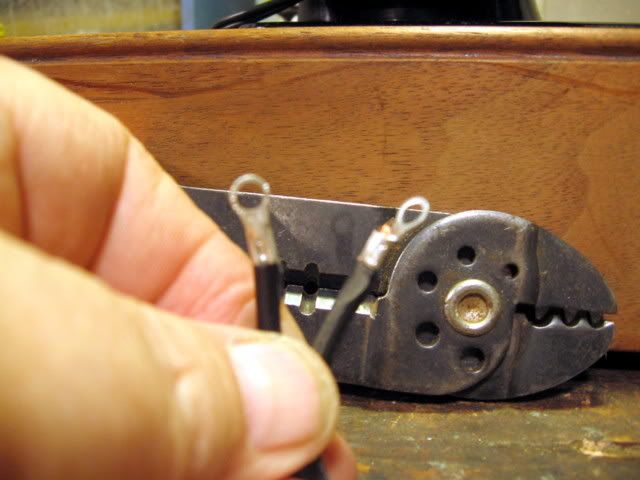
I do a double secure connection when I do my electrical work. First I crimped the connectors, and then I solder them. Very secure. ( I forgot the soldering iron pic.)
Now we come to connecting the two light wires to the junction block. There is one small problem though. The junction block has three connectors, but only comes with two screws. That doesn’t make much sense to me, and although Jenny at Sew-Classic had told about this ahead of time I still had to make the rounds of the local hardware stores till I found one that had this size screw in stock.
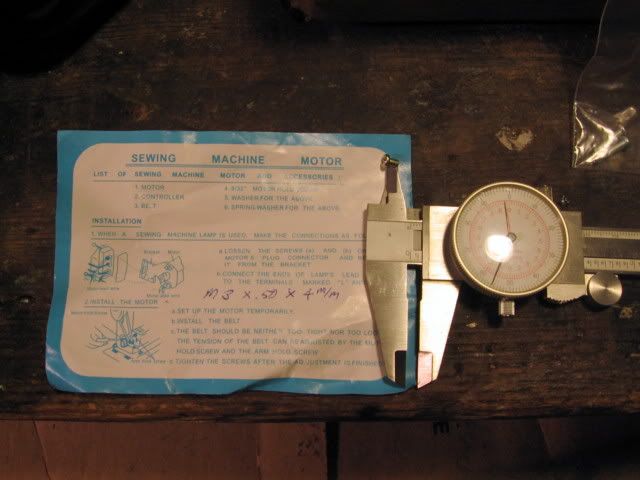
The OEM screws are M3 X .50 pitch X 4mm, very small. The shortest ones the hardware store had was M3 X .50 X 5 mm. So what I did was move the screw on the right connector to the center where there would be only one wire, and put the longer hardware store screw on the right where there was two connectors. Worked like a charm. And for the record, I bought extras.
(NOTE: Since this photo essay was first posted Sew-Classics has been adding the third screw to the connector block for their customers.)
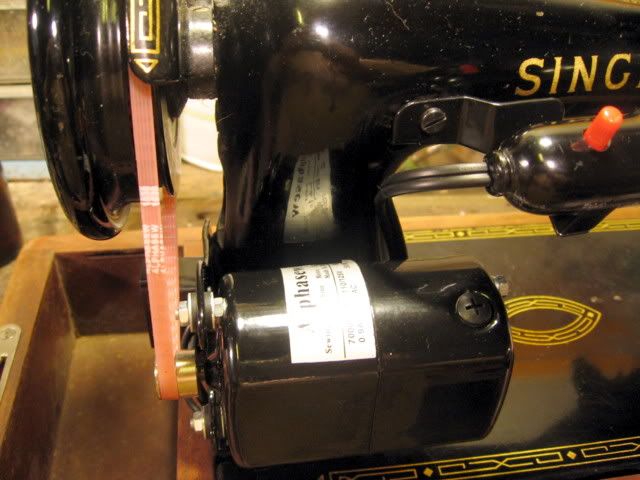
Then I carefully bent the heavier light wires to conform to their new location and to avoid breaking the plastic block, then replaced the back to the block and screwed it back on to the motor bracket. Then I attached the light and motor to the back of the Singer using the supplied chrome placed universal screw. I call it universal because it’s a hex head machined for a flat blade and a Phillips screwdriver.
Next I put on the pretty pink cogged belt, making sure that I didn’t get it too tight.
Then I plugged in the connector for the foot controller and power cord.
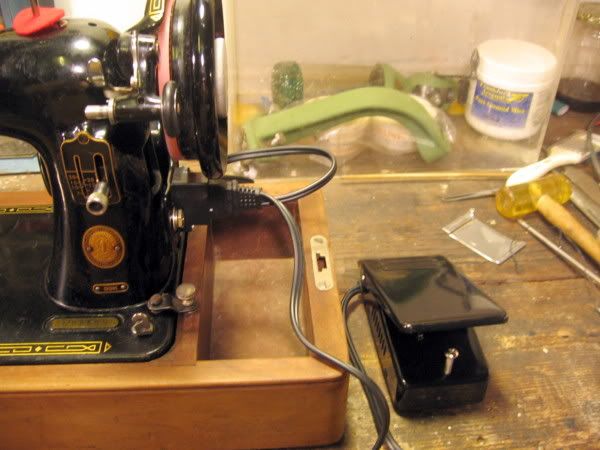
WOOOO HOOOO it works! No smoke or flames either!
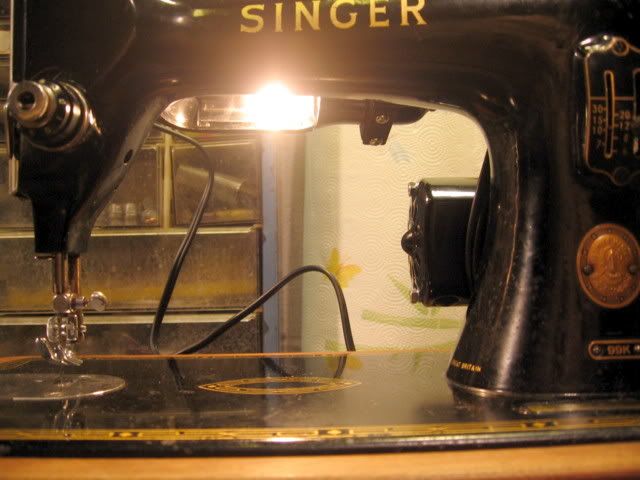
After that I took the Singer upstairs to test it. No room in the work shop area.
I sat down in front of the computer, just enough room and I’m multi-tasking again.
That’s a fancy PC word for doing too many things at one time.
Plugged it in and got a bobbin, a class 66 for those that might not know what size a 99K uses, and some purty red thread.
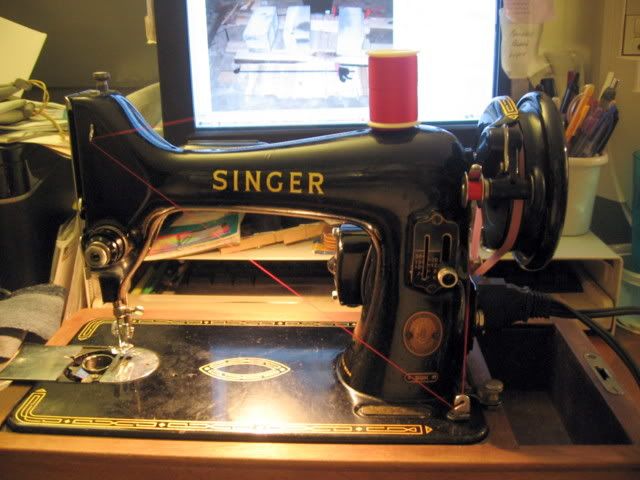
I leaned way back to take this pic as the bobbin was winding. If you look close you can see the thread is out of focus and the belt is spinning, can’t see the cogs.
After that I sewed a bunch on a scrap.
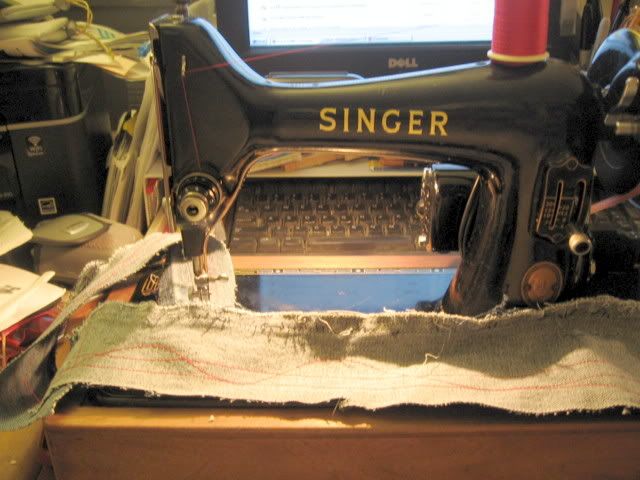
Paint me thrilled, this machine is in great shape and sews up a storm. And all my assembly work went without a hitch too.
Eventually I’ll make something with it. I’ve already got an idea. But that’s going to be down the road a bit as I have several projects in queue and I’m trying to get them done.
I know the parts I used to put this machine back in operation were not Singer parts, but they do the work and were a lot easier to find. Perhaps someday I’ll trip over an extra OEM set up. Until then I’m going to enjoy using this little machine.
Hope you enjoyed this pictorial.
Joe