Hi everyone!!
I have had many people ask me how to make these striped blocks since I posted my request for stripes here:
Trade Striped Fabs?
You can see the quilt that inspired me there and the first two blocks I made in that post. Here is an example of the block I'll be making today:

These blocks are not difficult per say, but they can be time consuming. There is a lot of fussy cutting and fussy placement involved to get everything to line up. You will see in my inspiration quilt, that she didn't always care as much if everything was perfectly lined up, but I am a little bit of a perfectionist so I am going to try my best to get them to all line up just right!! My instructions are my perfectionist way of doing this block, but please feel free to adapt to your level of perfectionism/speed preference. I would not sit down and make 100 of these blocks in one sitting, I might go insane that way. My plan is to do a few at a time as I am doing other projects to break up the time spent and not feel like I am under a spell.

Please let me know if you have any questions after reading these, I just made them up real quick as I did one block, so I may have left something out.
Supplies
Starch
Striped Fabrics
Scissors
Ruler with a 45 degree line
Rotary Cutter
Sewing Machine
Iron
The first thing you want to do when making this block is to starch your fabric. I know many of you do not use starch, and I am sure these would turn out fine without it, but since we are working with bias edges, I prefer to starch my fabric so there is less pull.
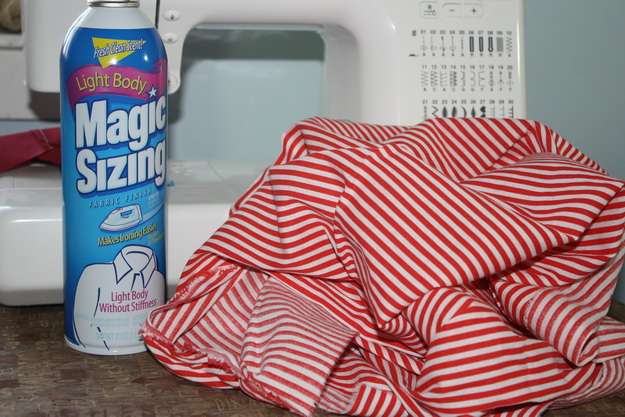
Be sure that you iron the starch really well so the fabric is no longer wet. Wet fabric is floppy fabric and we do not want that here.

Before we get to cutting the fabric, be sure that you have a ruler with a 45 degree line. You can see in my picture that I have highlighted that line with ruler tape.

This is the line we will be using the most for these blocks, so make sure sure you are familiar with it!!

Now take your ruler and place the 45 degree line on the top of one of the stripes. Since the stripes are all the same size in this block, it makes it easier. I will place my 45 at the top of a red stripe for all 4 triangles. If the stripes were different widths, you would want to be sure to always place your line at the top of the same stripe in a new repeat every time. This way your triangle has the same stripes all the way down to the point.

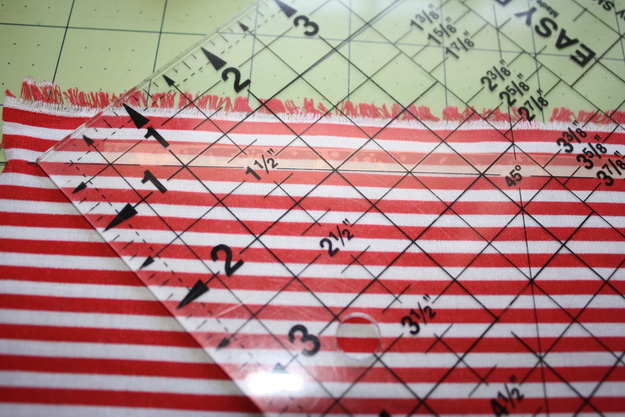
The next part takes a little practice, but with a firm hand you can do it!! Run your rotary cutter up the ruler to just past that 45 degree line. The right side will be easier, the left side takes practice. I use my right hand and just be sure my rotary cutter is against the ruler. It's awkward, but it works. Your triangle should pull away easily.

You can see in that pic, that my 45 degree line is not the top stripe on that piece, so what I do is mark with an arrow which stripe is my top stripe and then I cut it later. I will use a rotary cutter or scissors, whichever get me a more precise cut. (For this particular block I used scissors).

Then you just move your ruler down the fabric to the next line that has no cuts in it and repeat. Since you are farther down the fabric, you won't be able to just run your rotary cutter right off the fabric, so just mark your top line and cut your triangle out with scissors now.

This is what your fabric looks like when 2 triangles are cut.
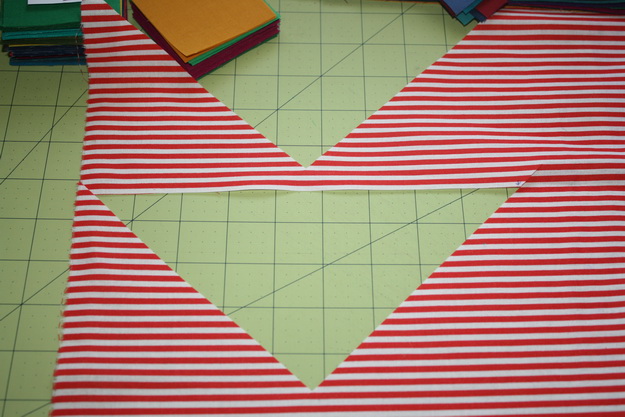
On this fabric I was only able to fit 3 triangles top to bottom, so I moved next to the first triangle I cut. Since my stripes are all the same, I was able to flip my ruler to save fabric, but if my stripes were not all the same, I would not be able to do this.
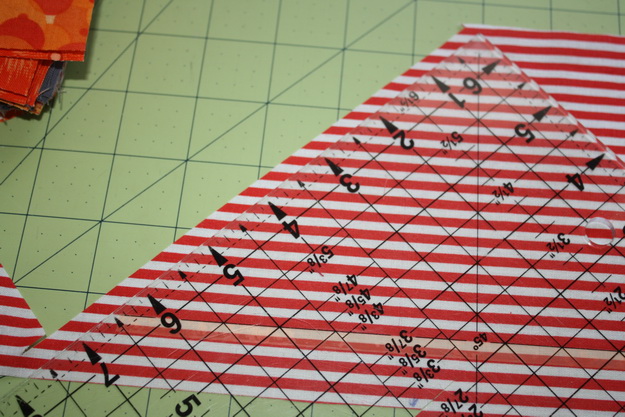
Now you have your 4 triangles cut.

You may notice that your stripes are not exactly even (you can tell by the center points).
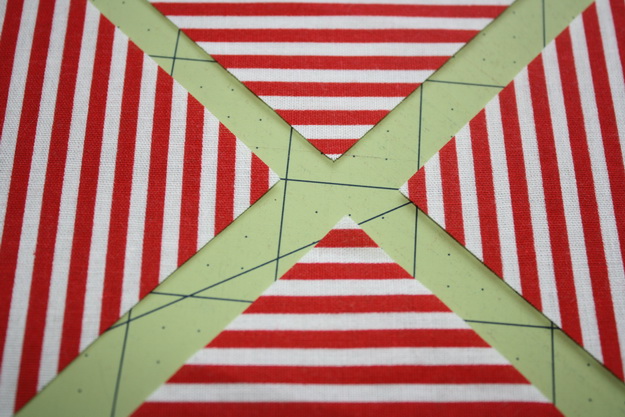
But that is okay, so long as they are pretty close, we are going to do some more fiddling to get them just right.
For this block, it's best if you don't use a quarter inch foot that has the guard. There may be time where some of your fabric goes over that quarter inch, and you don't want anything to get caught up. I use my regular old foot and I have a good visual on what is roughly a quarter inch from the top of the foot. You do not need an exact quarter inch for this block as we will be trimming to size at the end anyway.
