Jane Quilter, I had to do this as well. And the diagram sits in front of me as I stitch them together. It has kept me from having to rip nearly every block and I'm down to only 1 or 2. Yes, lol, I stitch the wrong side sometimes.

I'm such a goof sometimes. lol.
Originally Posted by
Jane Quilter

The Hunters star pattern is a little tricky, to get the sizing correct, to get the pieces in the correct position, and to press the seams in the right directions so the pieces "nest" and the corners are sharp. I often get confused, and once got one wrong (see earlier post in thread). So I made a pattern that has helped me maintain size and positional accuracy as well as increase the speed of block assembly. See Below:
Pattern:
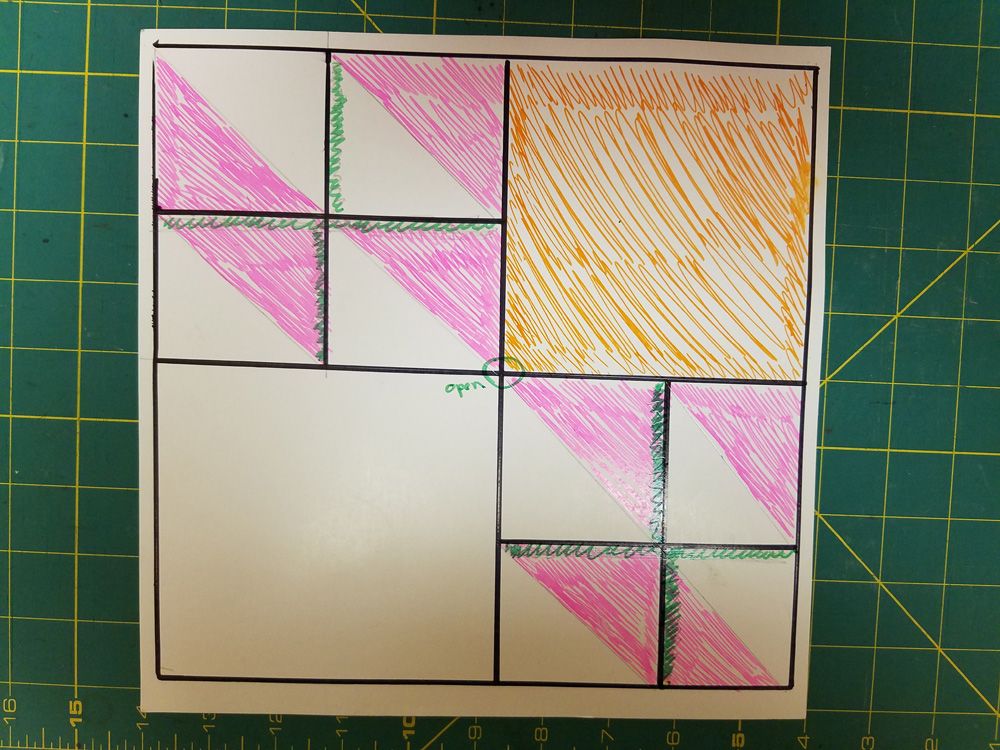
The orange/pink shows where to place the dark/light HST pieces, the green squiggles show which way to press the seams so the pieces nest. I sew from top left to right bottom. When the 4 HST's block is assembled, I assemble to the 4.5" patch, then assemble the top half to the bottom half and press that seam open and I am done.
Here is the pattern with the fabric positioned to begin assembley:
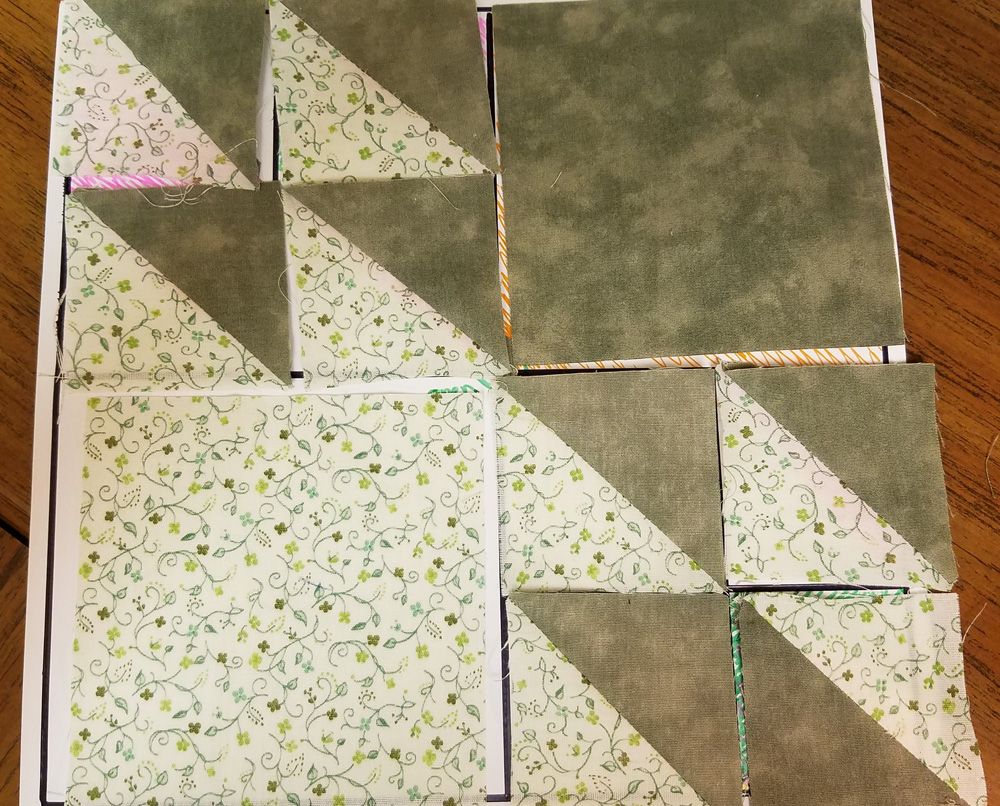
Hope this helps you....It sure has helped me.