I was asked by some friends in the Boom group to post a tute on joining blocks, QAYG. This is not original with me, but only one of many ways to do QAYG that can be found online. This is the method I like and prefer.
Quilt all of your blocks with batting and backing fabric, and when you are done trim them, getting rid of the excess batting and backing. Fluffy poly batting is not the best choice for this method. I use 80/20 batting which is thin and easy to seam. The blocks I joined in this tute were all 12.5" blocks that I trimmed to 12 3/8" after quilting. They were all 12 3/8" square, with nice clean, straight edges to work with...
Out of my sashing fabric, I cut 1" wide strips the length of the sides of my blocks, plus a little 'fudge' room to trim off later. I cut 13". You may want to starch your fabric before cutting if it is thin or soft. Those 1" strips are for the BACK of the joins, so you might want to use a different color than on your front. I used the same for both sides, as it worked for my backing fabric too.
Now cut the same number of 13" strips, but cut 1 3/4" wide for the front joins.
Iron those, wrong sides together, lengthwise. You will sew them on folded, with the raw edges towards the edge of the block. This is what your strips may look like:
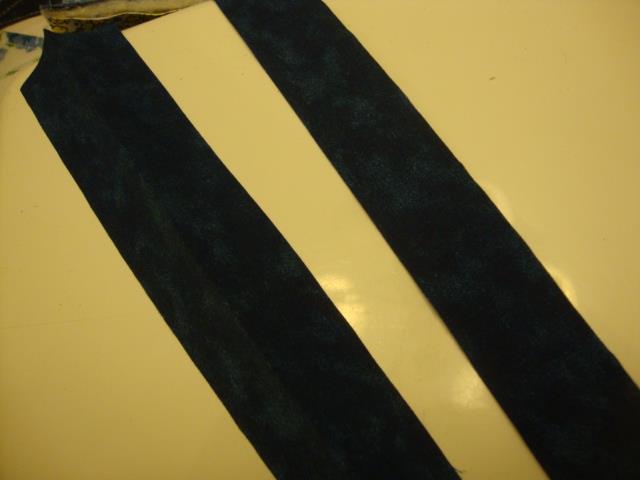
[ATTACH=CONFIG]579890[/ATTACH]
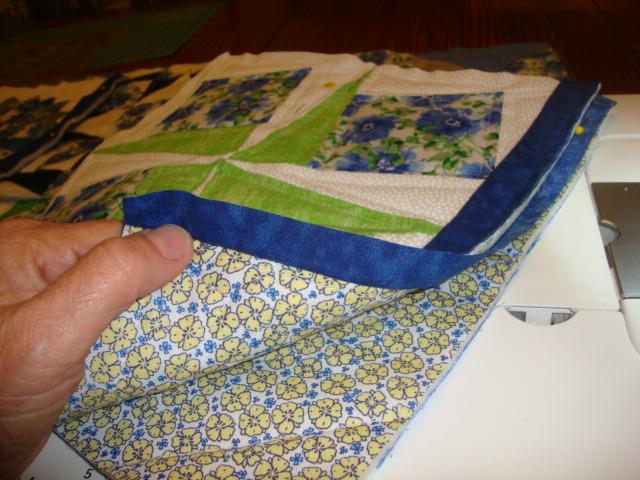
Line up strips on the right edge of your first block of the first row (uppermost lefthand block). Place the 1" strip under the block (right side up towards the backing fabric),and the raw edges of the folded 1 3/4" strip on the top of the block. Line up edges exactly with the quilted block and sew a scant 1/4" seam. Here is when I trim off the excess length so the joining strips are the same length as the block. Do that first before you match up the second block.
[ATTACH=CONFIG]579891[/ATTACH]

(My backing is the yellow fabric.)
Now open out the sewn 1" strip on the bottom and let it extend past the seamline. Take block #2 and place it right side down under block #1, lining up the edges of the 1" strip and the second block. Take care that your blocks are EVEN at the top and bottom, or you'll have a messy time joining your rows later. Keeping the first seam out of the way, sew the second block to the back joining strip (the 1" strip).
[ATTACH=CONFIG]579892[/ATTACH]
Now you can open out the two blocks, face up, and gently smooth the batting in the seam allowances with your finger. They should just fit together with no gap and no overlap. Now take the folded top piece and finger press it over, covering the seam. Carefully topstitch close to the edge, using thread that is a really close match if you don't want it to show.
[ATTACH=CONFIG]579893[/ATTACH]
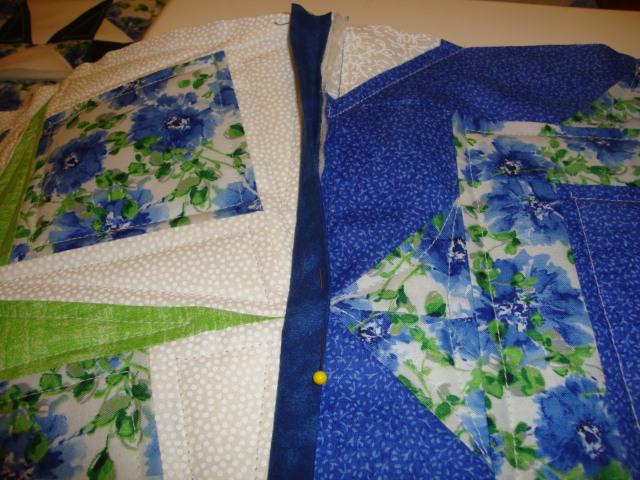
And this is what it looks like when done:
[ATTACH=CONFIG]579894[/ATTACH]
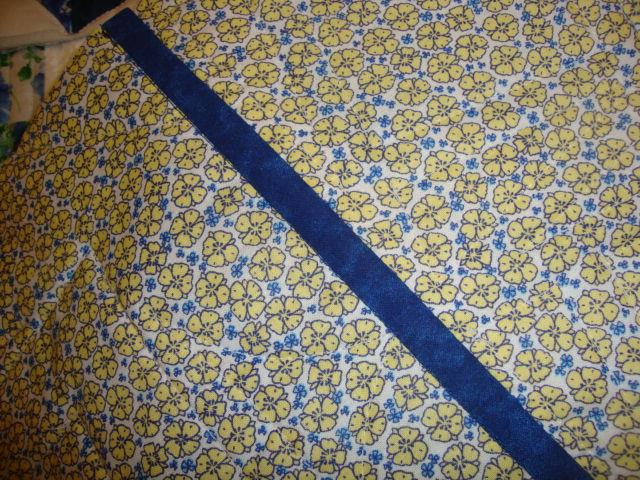
This is what it looks like on my back:
[ATTACH=CONFIG]579897[/ATTACH]
Continue across your rows, joining the blocks side by side from left to right. Remember not to put the strips on the outside edges, as those will have binding once the quilt is all together.
When you have all your rows joined, measure the length of the rows and cut enough strips, 1" times your row length, and also 1 3/4" times your row length. Press your 1 3/4 strips in half lengthwise.
You will start on the bottom edge of your first row, and sew the strips exactly as you did for your vertical joins. It's done the same way but with one major difference: You must line up the vertical joins at the intersections. This will help keep your quilt really square and will look so much better than if you just let them fall where they may. Line them up as you are pinning your strips. In fact, the only place I put pins is at those intersections once I get them lined up.
Two rows joined:
[ATTACH=CONFIG]562532[/ATTACH]
Once you've joined all your blocks you need only bind the quilt and you are Done!
[ATTACH=CONFIG]579899[/ATTACH]
I chose to use the same navy strips on the back for contrast, but you could use a different color, or even the same fabric as the backing if you didn't want your strips to show quite as much.
[ATTACH=CONFIG]579898[/ATTACH]
**This is my preferred method of QAYG, but there are many other ways to do it. If you don't like the topstitching showing on the face of your quilt, you can still use this method but reverse the strips and sew the folded ones on the back. Then you can hand sew them down on the back of your quilt, as you would your hand sewn quilt bindings.