
Bleepity Bleep Trouble with New Machine
 02-04-2015, 10:48 AM
#21
Junior Member
Thread Starter
Join Date: Sep 2014
Posts: 178
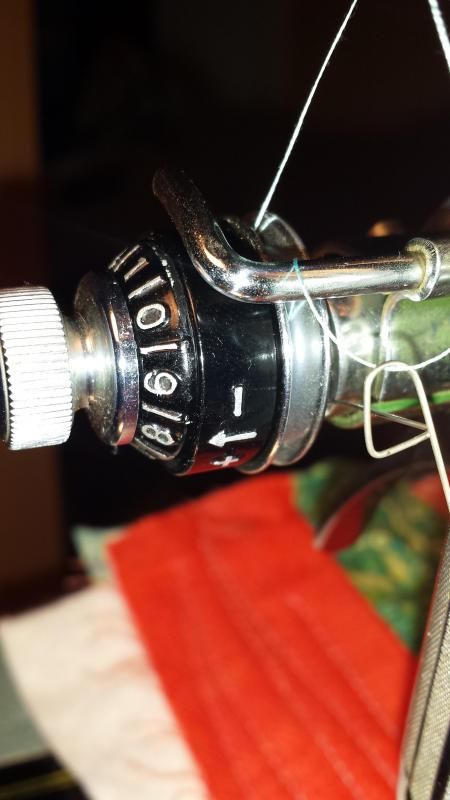
I took it apart, the discs are clean, put it back together as per instructions on TFSR and watching several videos. Still having a problem. When I thread the machine correctly I have to have the tension at 0 to get a decent stitch. If I do not thread through the take up spring I get a decent stitch with the tension at 4. I've taken the tension assembly apart and put it back together about 6 times, always with the same results. When the dial is at 0 the numbered indicator is all the way out so it isn't that it's adjusted wrong. I'm thinking maybe there is something wrong with the take up spring. Here is a photo of the tension assembly set to 0 and to about 8. I did turn the indicator arrow so it's at the front of the machine. I tried with the take up spring perfectly horizontal then I adjusted it so it is slightly up which is how it is in these photos. 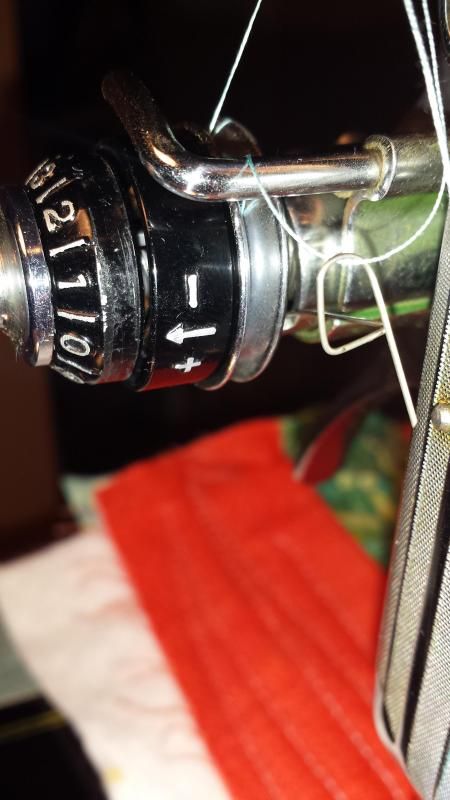
This is what the take up spring looks like when not attached.
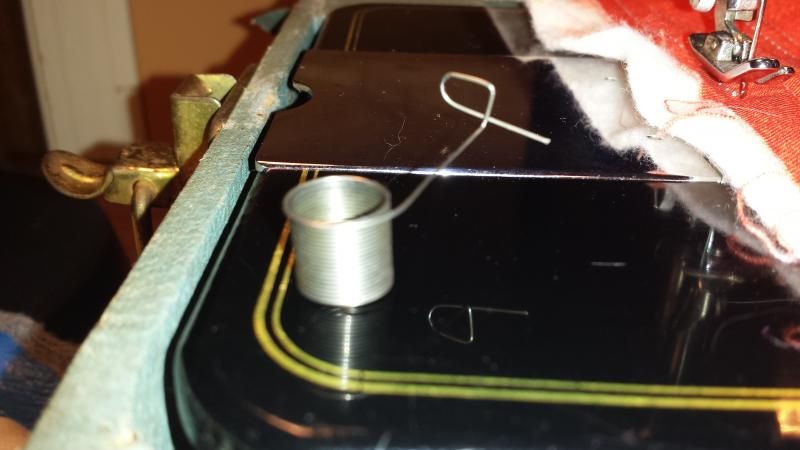


This is what the take up spring looks like when not attached.


 02-04-2015, 11:39 AM
#24
Junior Member
Thread Starter
Join Date: Sep 2014
Posts: 178
Party time! I think I figured out my current problem. I changed the thread and bobbin yesterday so this wasn't my original problem. I just took out the bobbin and the thread had come out of the bobbin tension. I am now getting perfect stitches with the upper tension threaded correctly and set to 4.5. Thank you to everyone for all your help and suggestions. I don't know what I would do without you all to come to for help! I think taking apart the tension and putting it together properly fixed the original problem. I just didn't know it until I found that the bobbin thread had slipped out some time today.
02-04-2015, 05:04 PM
#27
Senior Member

Join Date: Mar 2013
Location: NW MO
Posts: 591
Originally Posted by J Miller

One thing I do is once I get the tension set where it sews good, I hold the nob and rotate the number ring till #3 is at the indicator. It's just a point of reference so you can pic what ever number suits you.
Joe
Joe
02-05-2015, 08:27 AM
#29
Super Member
Join Date: Feb 2012
Posts: 8,091
Rodney,
Sometimes, it's just oil residue.
I once had a machine that had tension issues. I took the disks apart at Miriam's recommendation and they looked clean. But I cleaned them with alcohol just to be sure. Put it back together, tweaked it a bit and it sewed great.
It seems that it doesn't take much debris or contaminant to cause tension problems.
Joe

Thread
Thread Starter
Forum
Replies
Last Post
foufymaus
For Vintage & Antique Machine Enthusiasts
25
11-23-2015 05:18 PM
