
QAYG w/ a wide pieced sash
 01-20-2017, 03:51 PM
#1
Super Member
Thread Starter

Join Date: Sep 2014
Location: Rural Oklahoma
Posts: 5,374
There are many, many ways to QAYG. This is the way I came up w/ to do this quilt w/ wider pieced sashing strips. It is working well for me, but I haven't started the long ones yet. I don't anticipate any problems just will need to be vigilant about keeping true seam allowance.
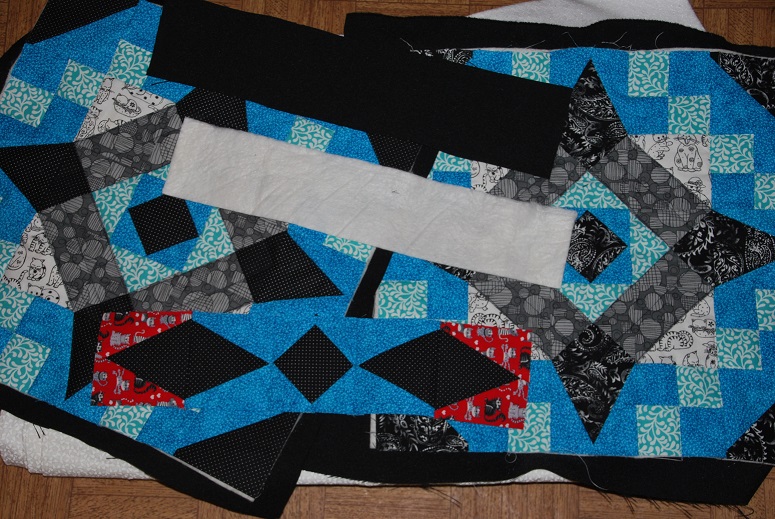
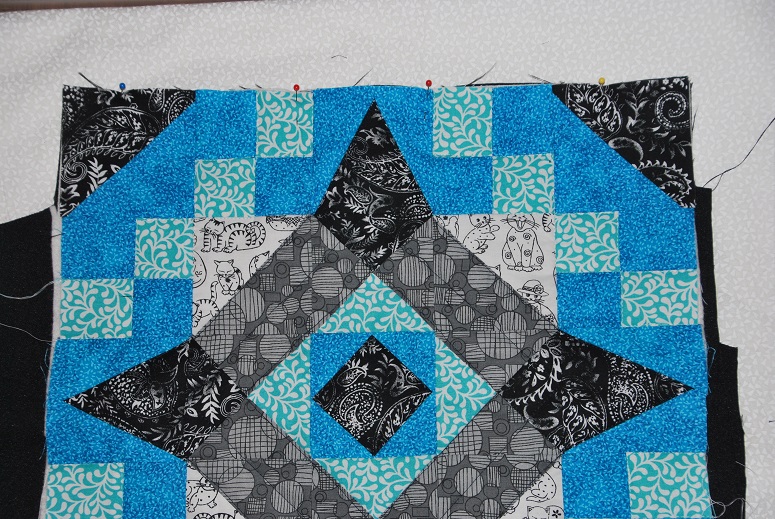
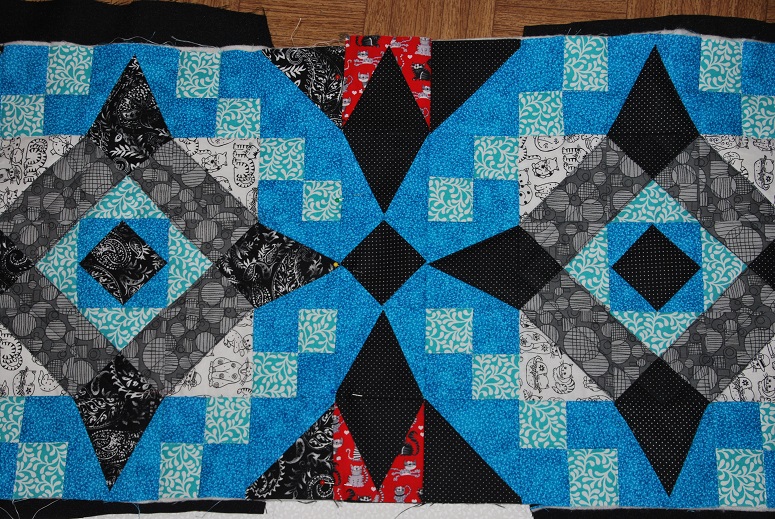
Two blocks, a sashing front and back and a batting piece to fit in the sashing space.
Trim the two edges that you are joining. (I don't trim backs until just before sewing to keep fraying at a minimum)
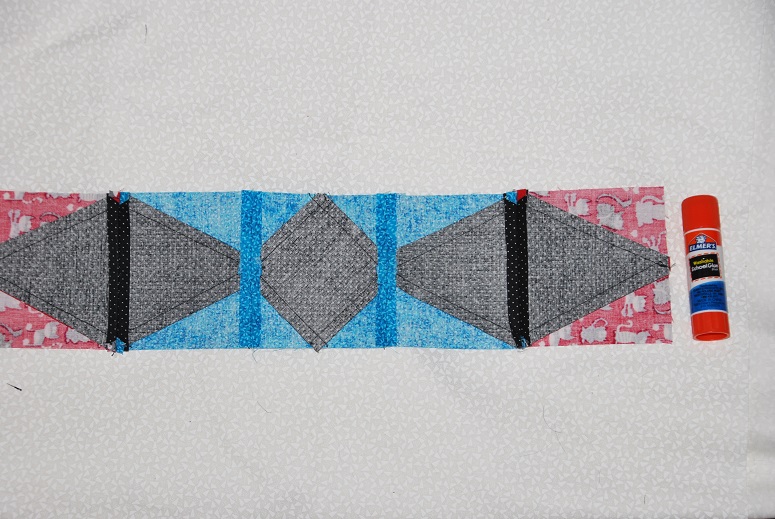
You will be pressing a 1/4 inch fold on the edge of your pieced sash, a hot iron and stick glue will be your friend.
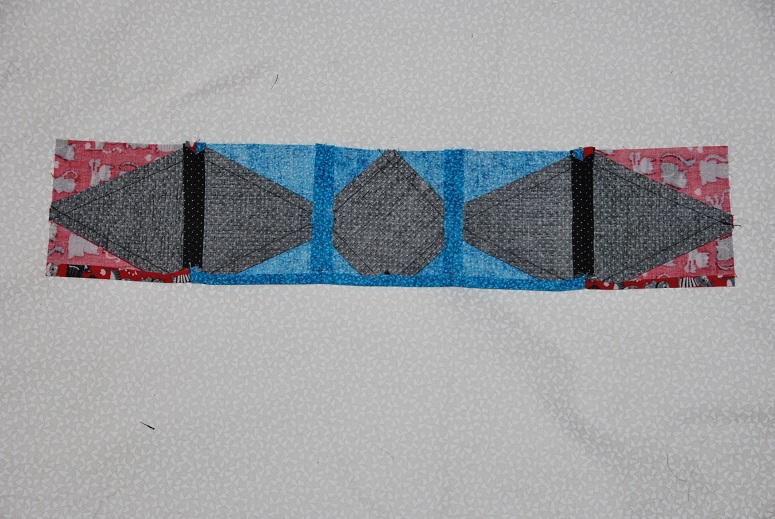

Just one long edge is done this way.
You will line up the edge of the block w/ the raw edge of the pieced sash (right sides together) and the back sash to the back of the block (right sides together)
Pin matching seams and points. I am not a big pinner, almost never pin, but here it is a MUST for good results.
Stitch, a 1/4 inch seam allowance is important so you won't lose points.
Press your back sash in normal position (leave your front sash as it was sewn for now) I use sizing on the back sash seam as I press it to keep things more steady less likely to shift.
Now sew the next square to the sashing edge matching raw edges right sides together. (the right side of the new square back and the 1/2 sewn sashing) pin here too, it will make your life easier.
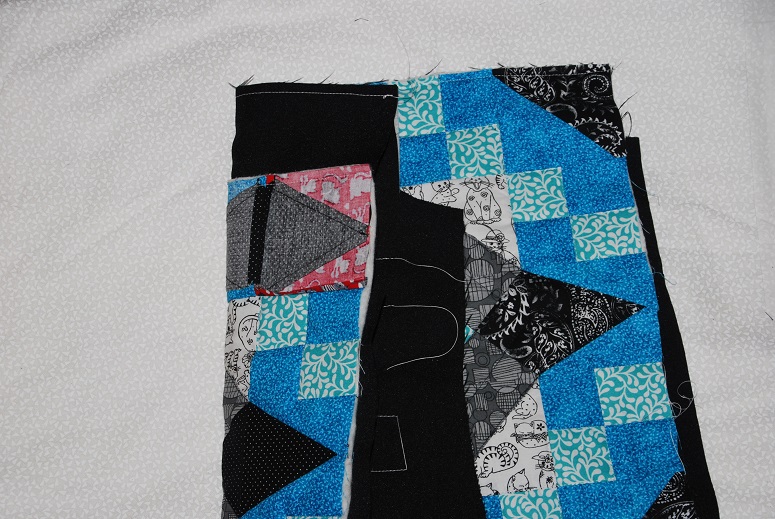
Stitch 1/4 inch you could do a scant 1/4 inch here to be sure to hide the stitching in an upcoming step, but the 1/4 works for me.
Now you have both long edges of the back sashing sewn to the blocks and 1 long edge of the front sashing. I press the back sashing seams just to set them and w/ some spray sizing. I don't want any shifting and puckering or tucks. Measure the area of the sashing between the seams, this is the width of your batting sash. For me, for this quilt it was 2.25 inches.
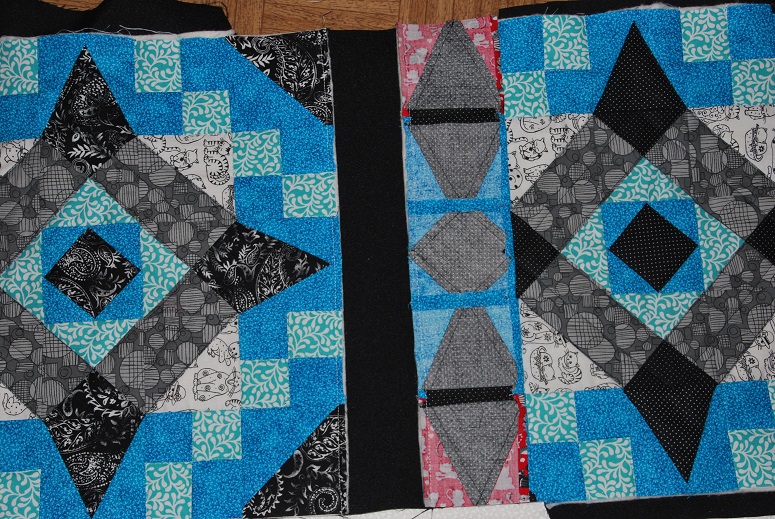
Place the batting so it is nested into the sash and not sitting on any of the side seams adding any bulk to them.
Fold over your pieced top sash, press in place small spot gluing is helpful, pin matching points and seams, covering your joining stitch.
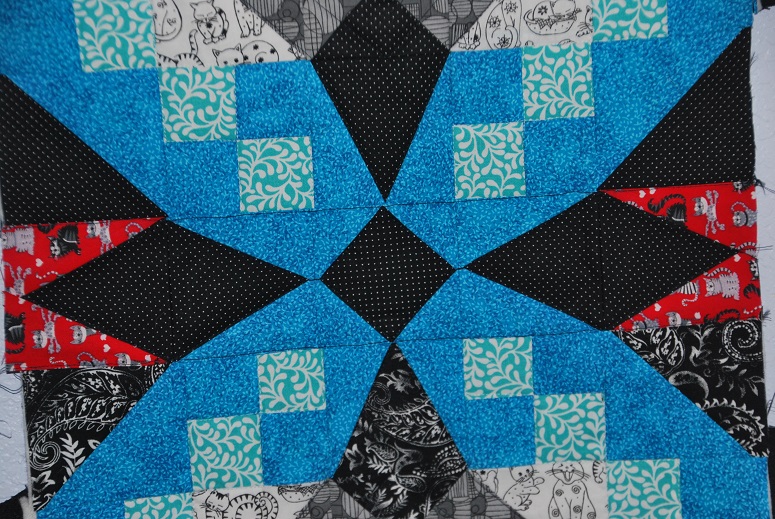
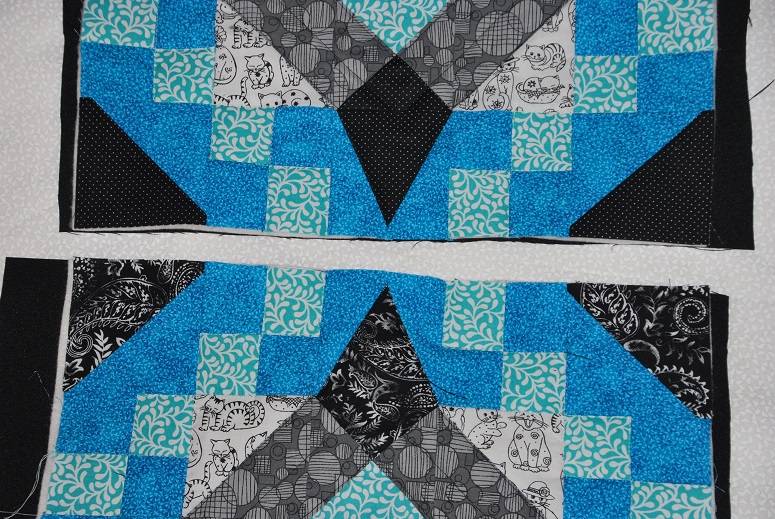
Top stitch it down. You don't have to stitch both sides but I think it looks on purpose if you do. This is why I stitch the back sash by machine so I have complete control from the front w/ the top stitching. You will need to do some sort of quilting stitch in the sash b/c it hasn't been sewn to anything yet.
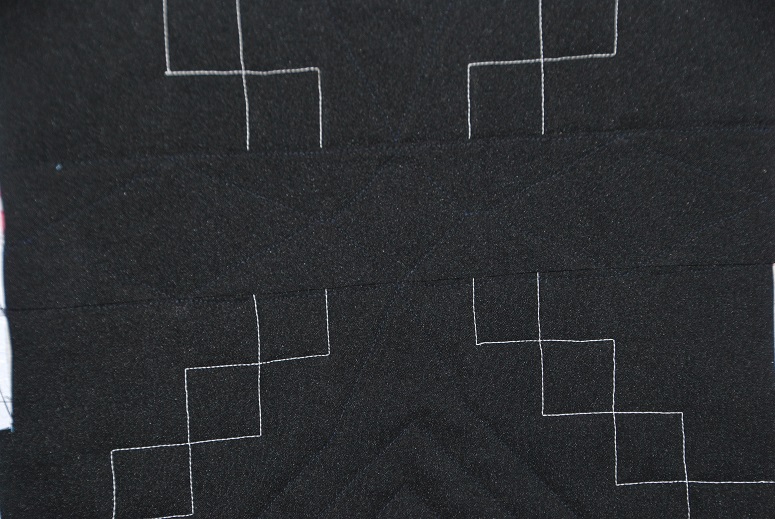
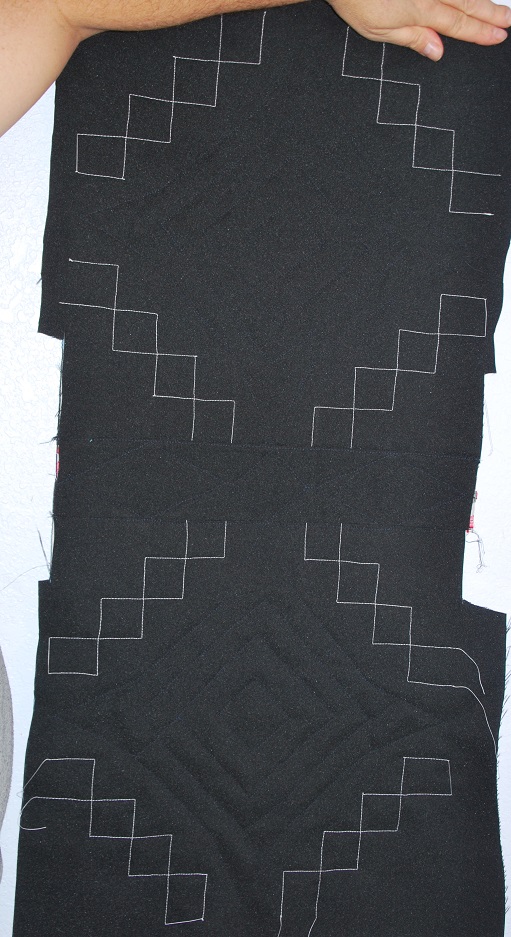
Those same stitch lines as seen on the back
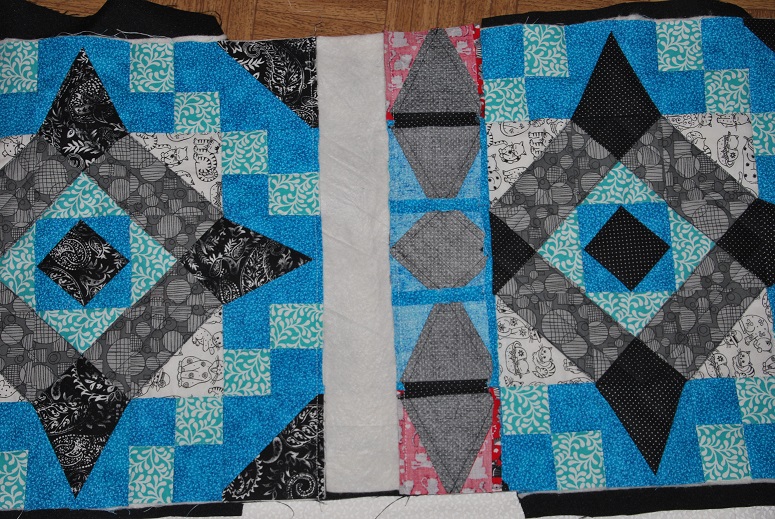
I am doing a 12 block layout, so I will make 3 columns of 4 blocks then join the same way w/ a long sashing strip between them.
Two blocks, a sashing front and back and a batting piece to fit in the sashing space.
Trim the two edges that you are joining. (I don't trim backs until just before sewing to keep fraying at a minimum)
You will be pressing a 1/4 inch fold on the edge of your pieced sash, a hot iron and stick glue will be your friend.
Just one long edge is done this way.
You will line up the edge of the block w/ the raw edge of the pieced sash (right sides together) and the back sash to the back of the block (right sides together)
Pin matching seams and points. I am not a big pinner, almost never pin, but here it is a MUST for good results.
Stitch, a 1/4 inch seam allowance is important so you won't lose points.
Press your back sash in normal position (leave your front sash as it was sewn for now) I use sizing on the back sash seam as I press it to keep things more steady less likely to shift.
Now sew the next square to the sashing edge matching raw edges right sides together. (the right side of the new square back and the 1/2 sewn sashing) pin here too, it will make your life easier.
Stitch 1/4 inch you could do a scant 1/4 inch here to be sure to hide the stitching in an upcoming step, but the 1/4 works for me.
Now you have both long edges of the back sashing sewn to the blocks and 1 long edge of the front sashing. I press the back sashing seams just to set them and w/ some spray sizing. I don't want any shifting and puckering or tucks. Measure the area of the sashing between the seams, this is the width of your batting sash. For me, for this quilt it was 2.25 inches.
Place the batting so it is nested into the sash and not sitting on any of the side seams adding any bulk to them.
Fold over your pieced top sash, press in place small spot gluing is helpful, pin matching points and seams, covering your joining stitch.
Top stitch it down. You don't have to stitch both sides but I think it looks on purpose if you do. This is why I stitch the back sash by machine so I have complete control from the front w/ the top stitching. You will need to do some sort of quilting stitch in the sash b/c it hasn't been sewn to anything yet.
Those same stitch lines as seen on the back
I am doing a 12 block layout, so I will make 3 columns of 4 blocks then join the same way w/ a long sashing strip between them.
 01-21-2017, 09:47 AM
#5
Super Member
Join Date: Sep 2010
Location: Heart of Colorado's majestic mountains!
Posts: 6,026
Your quilt will be beautiful- (I can see it already). Your tutorial description is very clear and concise. A number of years ago I did a quilt in this fashion and it worked very well. The quilt went through the wash many times and always looked nice. One of the important things is to be sure the batting pieces are cut so they fully fill the space intended so there is no floppiness at joining seams. I personally liked the method.

 04-28-2017, 05:47 AM
#10
Super Member
Thread Starter
Join Date: Sep 2014
Location: Rural Oklahoma
Posts: 5,374
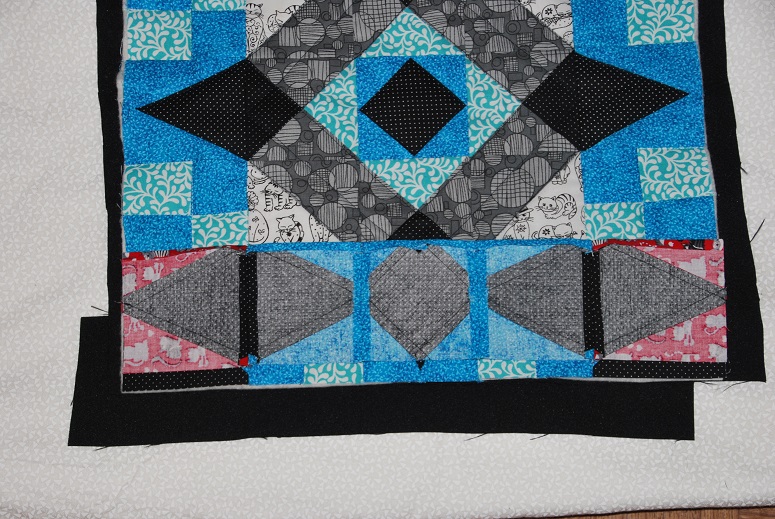
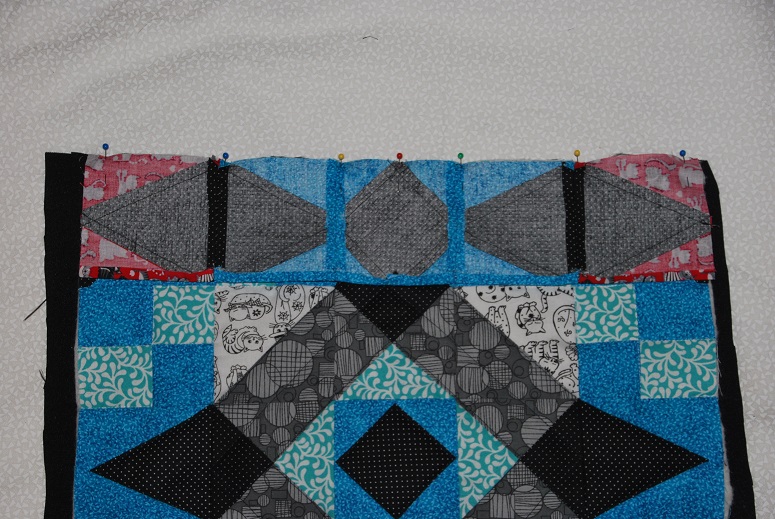
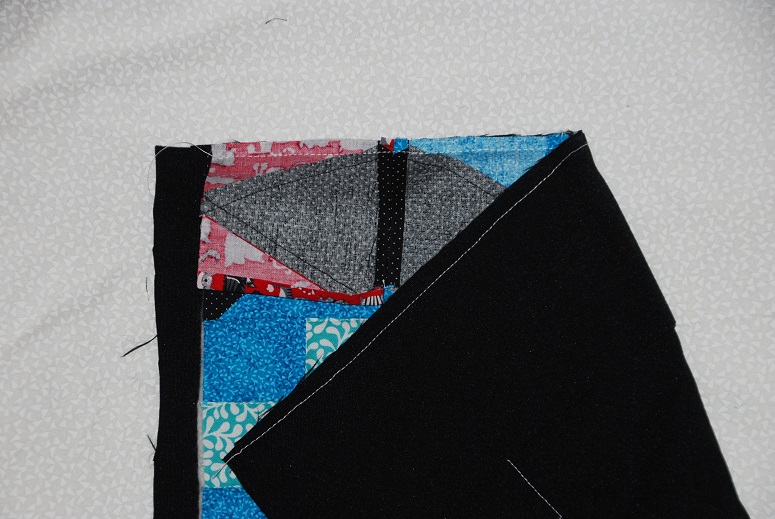
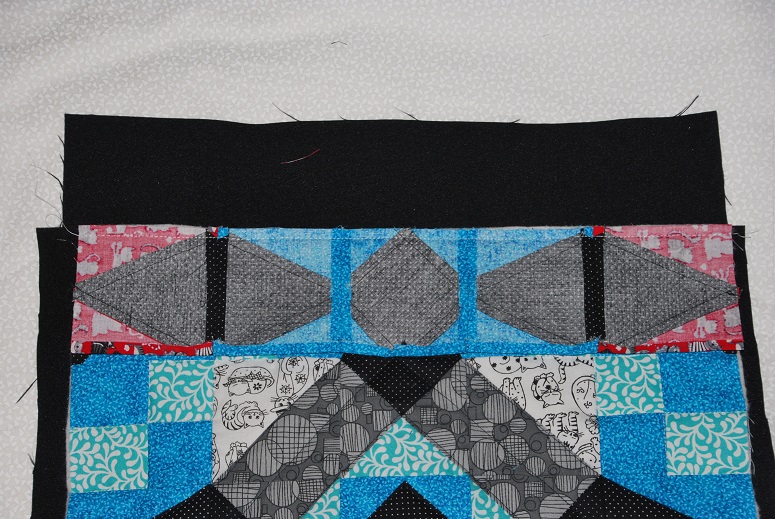
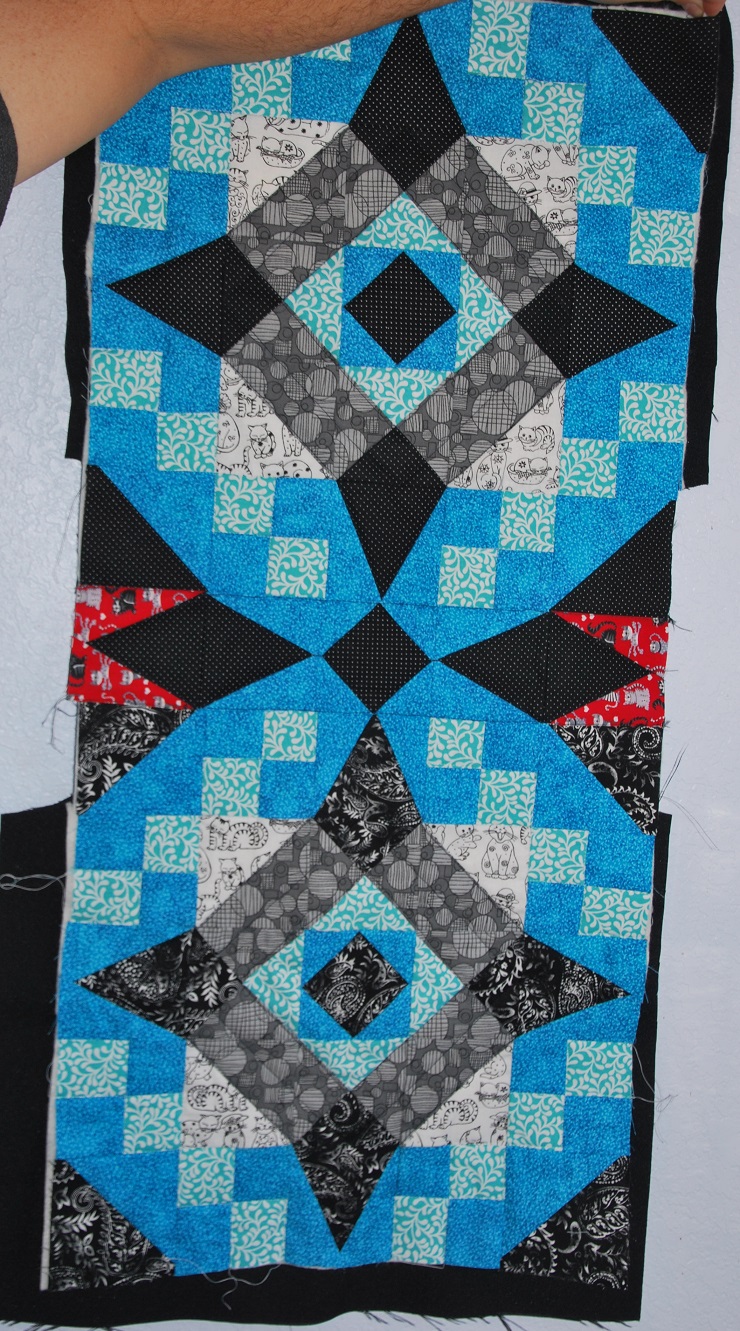
Well I forgot to update this. I did do the long sashing the same way and it worked great just took my time and pinned a lot here is a pic after the long sashing joined two columns.
[ATTACH=CONFIG]572218[/ATTACH]
[ATTACH=CONFIG]572218[/ATTACH]

Thread
Thread Starter
Forum
Replies
Last Post
seplnharve
General Chit-Chat (non-quilting talk)
8
05-04-2011 07:07 PM
