
My Singer 403A restoration project
 10-10-2020, 03:47 PM
#1
Member
Thread Starter
Join Date: Sep 2020
Posts: 31
I was working on sewing a backpack for myself and was getting close to done when I got the urge to buy an old SM. I've been using my 1985 Kenmore (bought new and seldom used).
I'd heard good things about old, “all-metal” machines on the backpacking forum I frequent. And I already have plans to make another backpack and later a tent. Maybe more gear (see username).
So, I did what I always do—research the heck out of a topic. I decided on a Singer since they’re easier to get parts and attachments for. And then on the 403A to get zigzag but not the metal cam stack of the 401A. And, personally, I don’t care for the looks of the 500 (sorry!) or its top lid.
Being impatient, I bought the first one I found—on eBay, in unknown condition, from a Goodwill store. It was cheap ($31 winning bid) and had a low shipping cost ($15—I don’t know how they do that).
_____________
When it arrived I discovered I hadn’t looked at the photos well enough. The outer two parts of the tension assembly were missing. And the main stud (name?) for that assembly was bent. Dang! So, I found a new tension assembly on eBay ($35—more than the SM!).
My inspection showed:
the “rust marks” on the bed were just dirt (after all, aluminum doesn’t rust)
the hand wheel would not turn, just wiggle a little bit
the thread plate lever wouldn’t move to “Up” or “Unlock”
the motor ran very roughly (after I properly plugged it in!) LINK
it came with zigzag needle plate and foot and one design cam: zigzag (yay!)
Having discovered AndyTube on YouTube in my pre-purchase research, I have followed along with his series on “Regina” a 403A he restored almost a year ago.
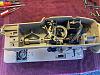
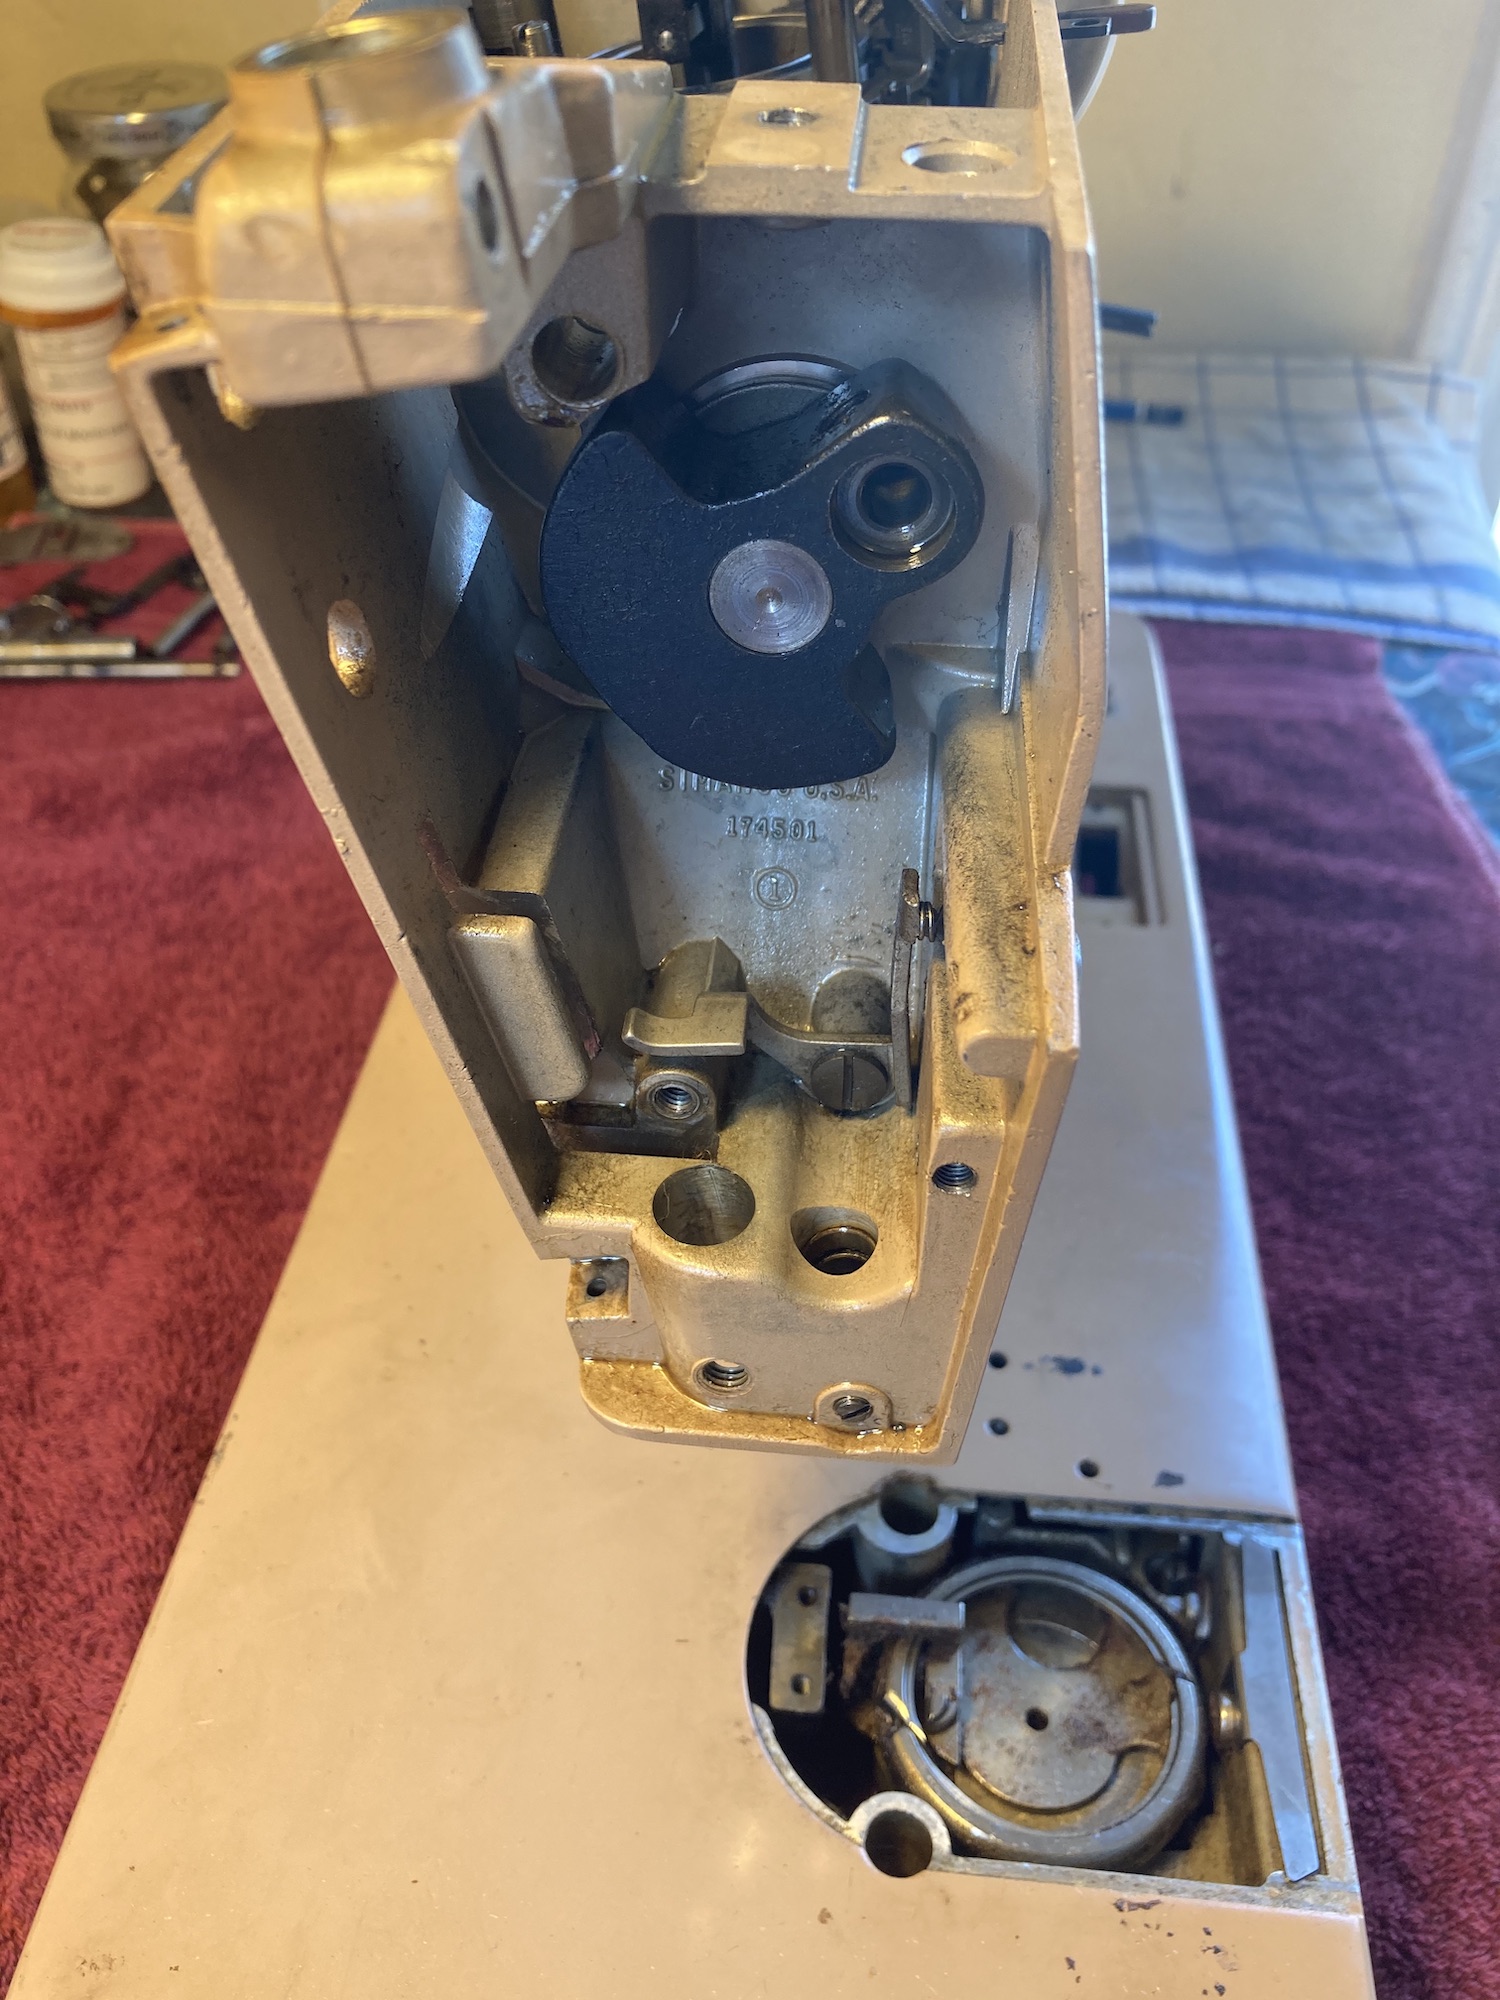
So, I’ve taken off a lot of parts!
I didn’t have a hair dryer so I bought one. I sprayed WD-40 on the stuck needle plate pin, let it soak overnight, and blasted it with the hair dryer. Success! It came loose. Same with the hand wheel “stop motion screw”. And the presser bar.
_____________
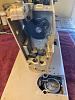
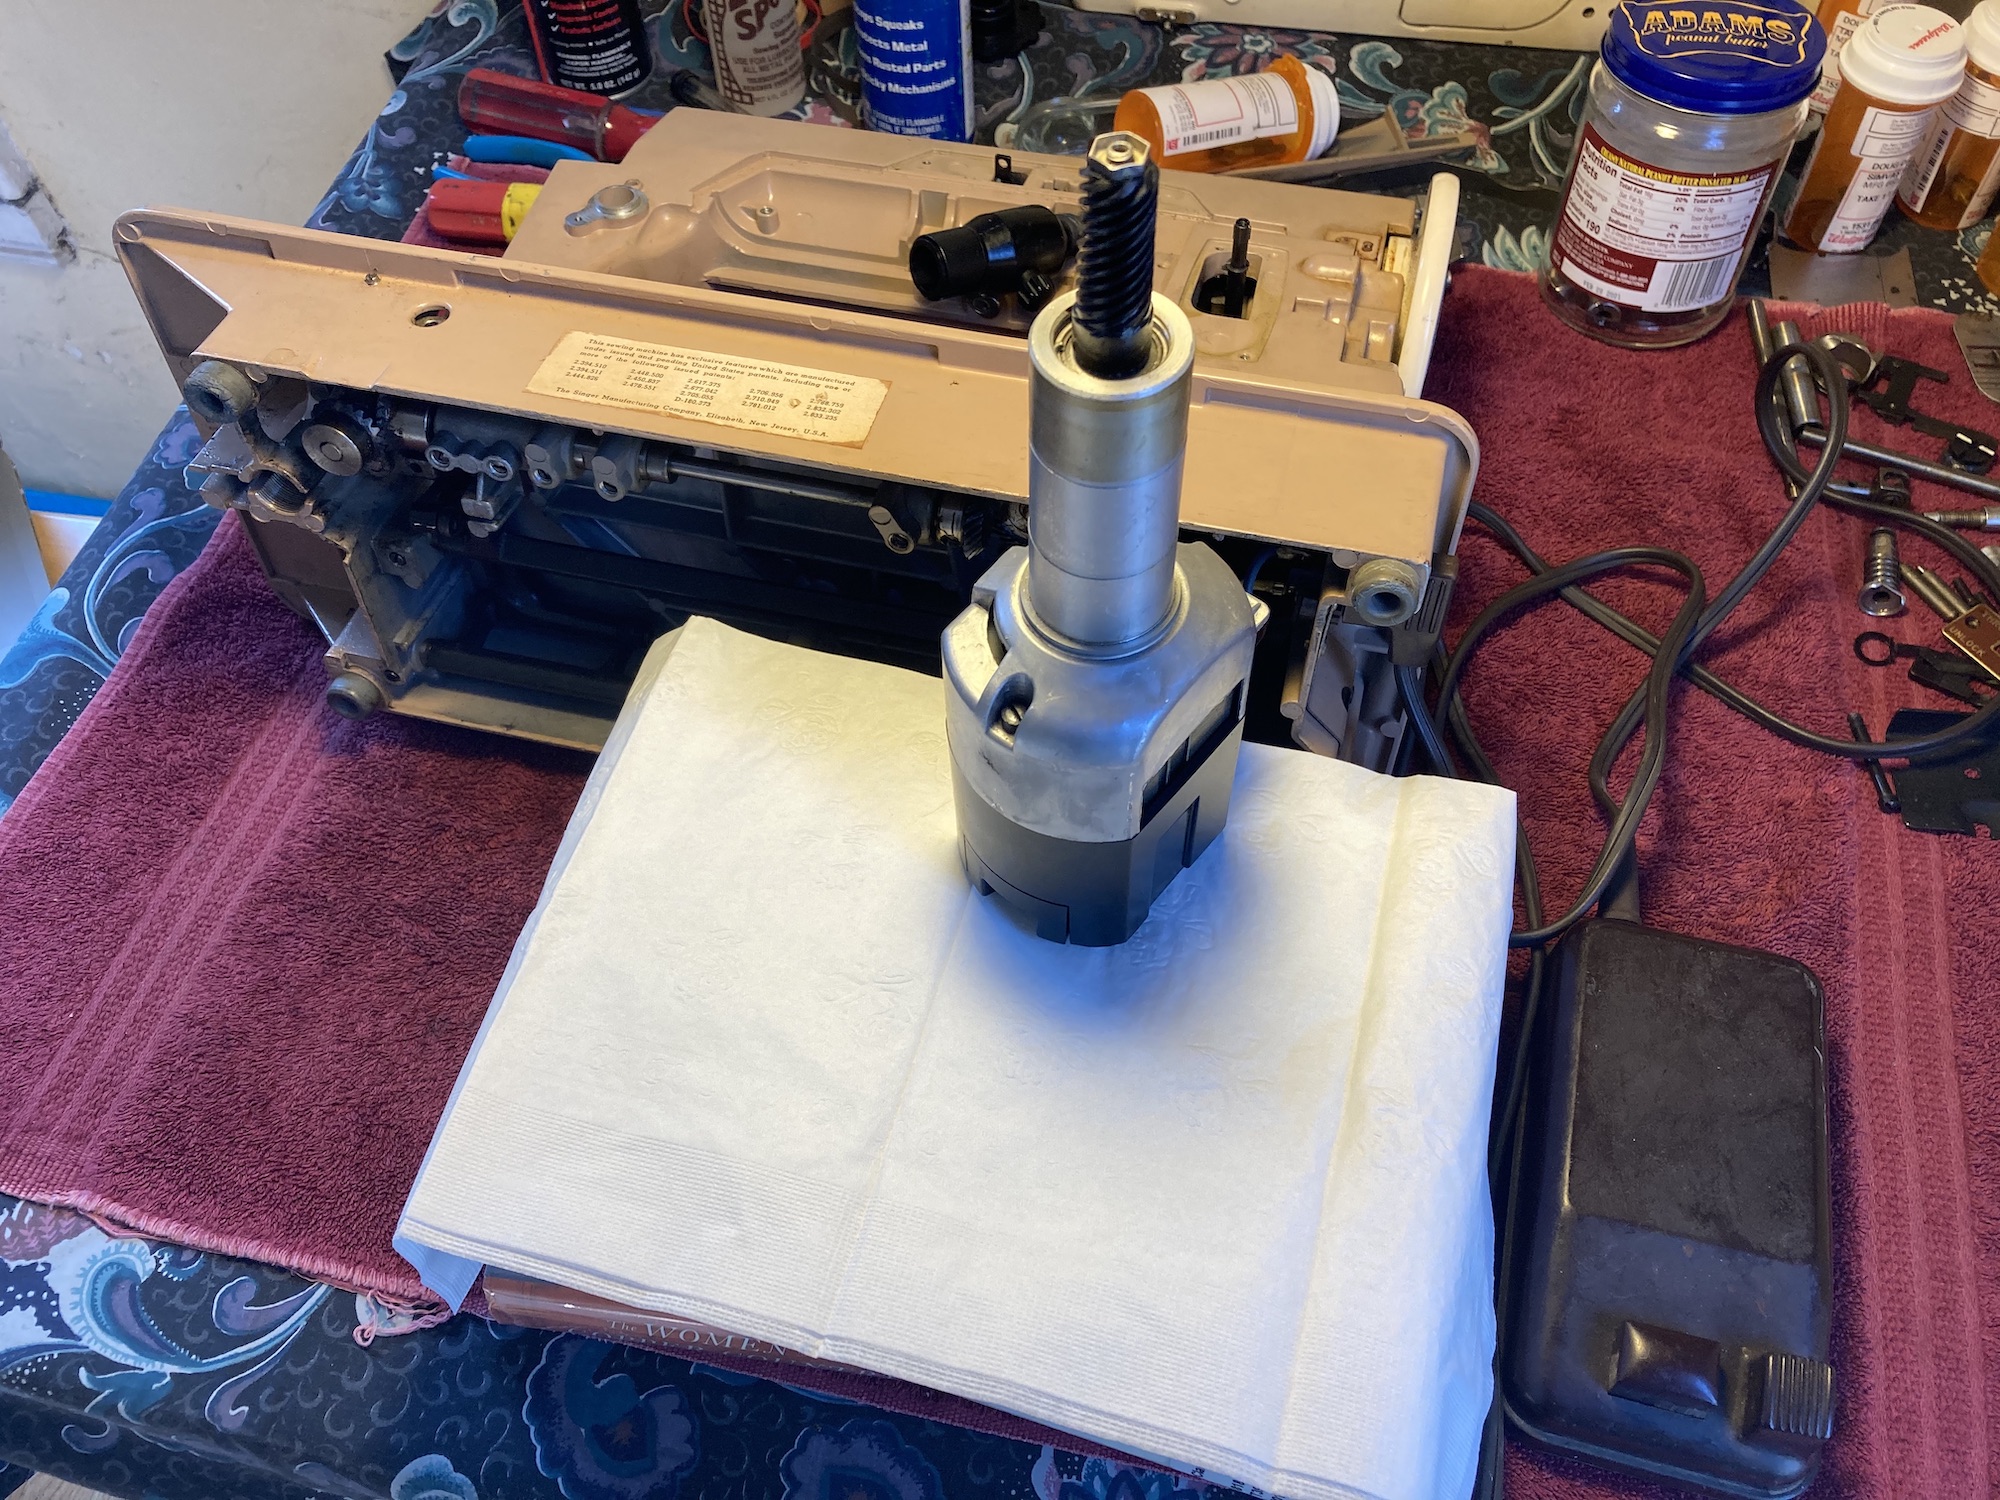
Also, I’ve taken the motor apart to gently sand the commutator (a new word for my vocabulary).
I also used the trick I read here (or at Victorian Sweat Shop) of using a couple drops of 30W motor oil on the motor’s top bearing. It’s better but I still suspect the bearing is a bit rough.
I took the motor out, laid the SM on its back, propped the motor up on some books, and reattached the wires. Then I put on the oil and ran the motor for 5 to 10 minutes.
_____________
My next step will be to pick up and use the stuff Andy recommends for cleaning, etc.
Krud Kutter Degreaser
Krud Kutter Must for Rust
Tri-flow Clear Synthetic Grease
little paint brushes (to put each of those on with)
I know Rocketeer here has gone though the Andy cleaning process and come out OK, so I figure I can do it too.
I’m surprised how much fun I’m having taking parts off! I’d take off more but don’t dare go beyond what AndyTube shows. (The needle position lever and the stitch width lever and ring would be nice to remove to get better access to clean the worm drive in that area.)
I plan to add more info as I continue to work on this restoration. Thanks for the help I’ve gotten here on the forum already.
I'd heard good things about old, “all-metal” machines on the backpacking forum I frequent. And I already have plans to make another backpack and later a tent. Maybe more gear (see username).
So, I did what I always do—research the heck out of a topic. I decided on a Singer since they’re easier to get parts and attachments for. And then on the 403A to get zigzag but not the metal cam stack of the 401A. And, personally, I don’t care for the looks of the 500 (sorry!) or its top lid.
Being impatient, I bought the first one I found—on eBay, in unknown condition, from a Goodwill store. It was cheap ($31 winning bid) and had a low shipping cost ($15—I don’t know how they do that).
_____________
When it arrived I discovered I hadn’t looked at the photos well enough. The outer two parts of the tension assembly were missing. And the main stud (name?) for that assembly was bent. Dang! So, I found a new tension assembly on eBay ($35—more than the SM!).
My inspection showed:
the “rust marks” on the bed were just dirt (after all, aluminum doesn’t rust)
the hand wheel would not turn, just wiggle a little bit
the thread plate lever wouldn’t move to “Up” or “Unlock”
the motor ran very roughly (after I properly plugged it in!) LINK
it came with zigzag needle plate and foot and one design cam: zigzag (yay!)
Having discovered AndyTube on YouTube in my pre-purchase research, I have followed along with his series on “Regina” a 403A he restored almost a year ago.
So, I’ve taken off a lot of parts!
I didn’t have a hair dryer so I bought one. I sprayed WD-40 on the stuck needle plate pin, let it soak overnight, and blasted it with the hair dryer. Success! It came loose. Same with the hand wheel “stop motion screw”. And the presser bar.
_____________
Also, I’ve taken the motor apart to gently sand the commutator (a new word for my vocabulary).
I also used the trick I read here (or at Victorian Sweat Shop) of using a couple drops of 30W motor oil on the motor’s top bearing. It’s better but I still suspect the bearing is a bit rough.
I took the motor out, laid the SM on its back, propped the motor up on some books, and reattached the wires. Then I put on the oil and ran the motor for 5 to 10 minutes.
_____________
My next step will be to pick up and use the stuff Andy recommends for cleaning, etc.
Krud Kutter Degreaser
Krud Kutter Must for Rust
Tri-flow Clear Synthetic Grease
little paint brushes (to put each of those on with)
I know Rocketeer here has gone though the Andy cleaning process and come out OK, so I figure I can do it too.
I’m surprised how much fun I’m having taking parts off! I’d take off more but don’t dare go beyond what AndyTube shows. (The needle position lever and the stitch width lever and ring would be nice to remove to get better access to clean the worm drive in that area.)
I plan to add more info as I continue to work on this restoration. Thanks for the help I’ve gotten here on the forum already.

 11-12-2020, 02:01 PM
#5
Member
Thread Starter
Join Date: Sep 2020
Posts: 31
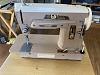
OK, it took me a while, but Mission Accomplished!
Following along with AndyTube's videos on a Singer 403A (he calls Regina), I took off a ton of parts, cleaned them, cleaned the main body in the shower, oiled and greased the frozen (due to the super, degreasing cleaning) gears, put all the parts back on, and it runs!
No, I haven't tried actually sewing yet, that's next.
Thank you for all the help when I was asking questions here when I started.
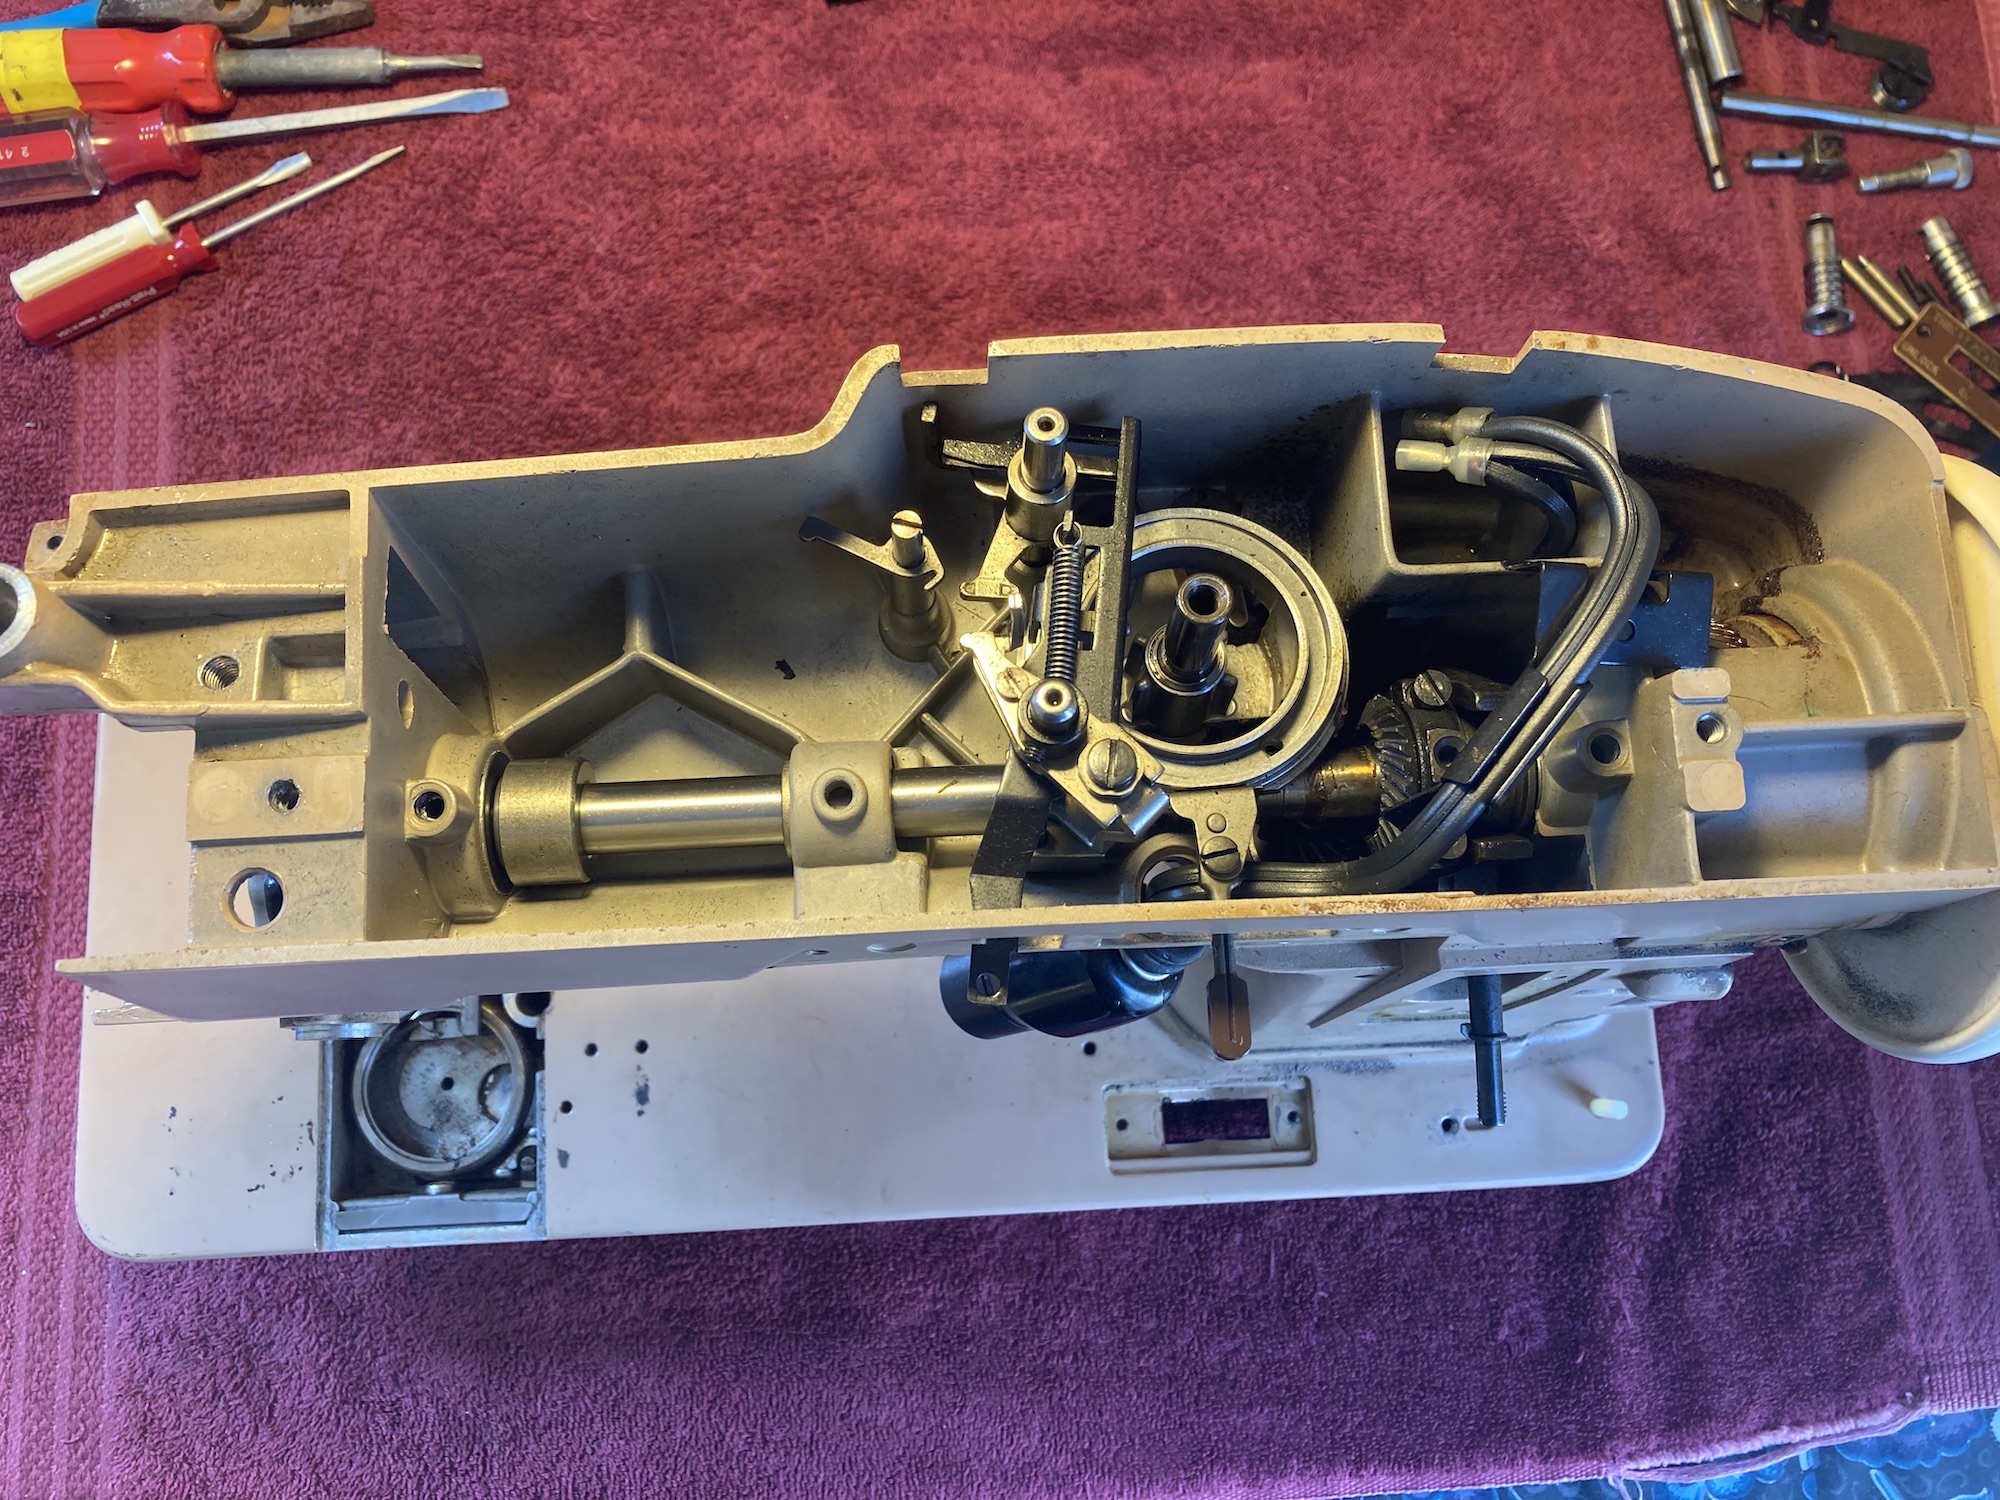
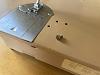
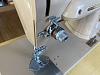
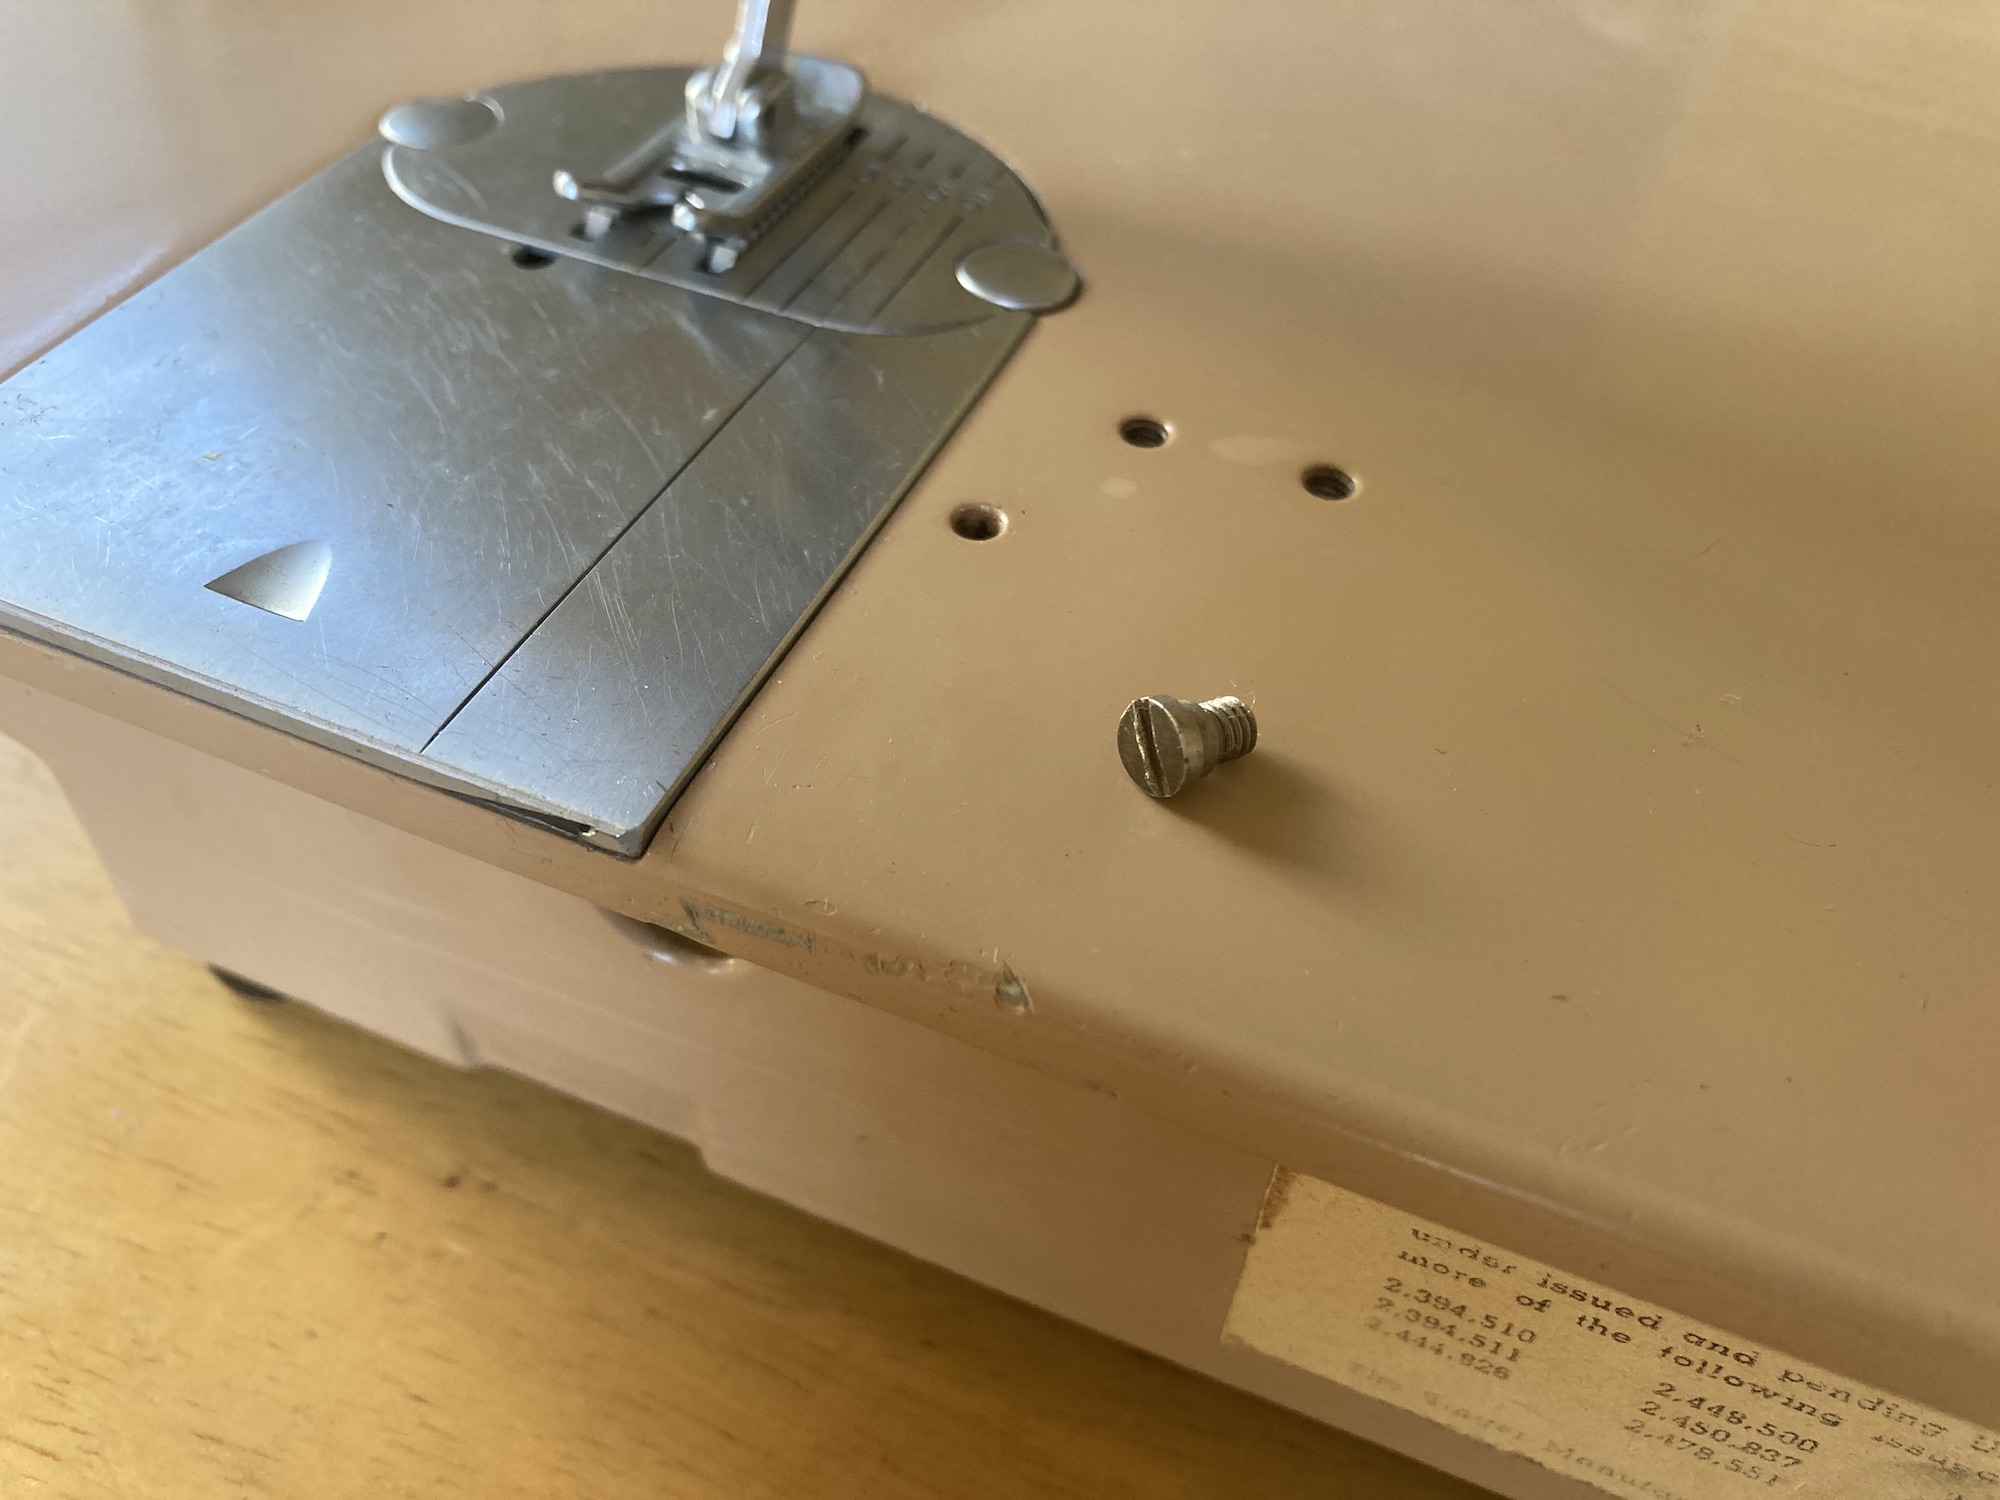
Btw, I have one small screw left over after reassembling everything. A special super "Thank you!" to anyone who can figure out where it belongs! (please see the second photo below)
Following along with AndyTube's videos on a Singer 403A (he calls Regina), I took off a ton of parts, cleaned them, cleaned the main body in the shower, oiled and greased the frozen (due to the super, degreasing cleaning) gears, put all the parts back on, and it runs!
No, I haven't tried actually sewing yet, that's next.
Thank you for all the help when I was asking questions here when I started.
Btw, I have one small screw left over after reassembling everything. A special super "Thank you!" to anyone who can figure out where it belongs! (please see the second photo below)

 11-17-2020, 11:22 AM
#6
Senior Member
Join Date: Apr 2020
Location: South of St Louis
Posts: 822
First, let me say how impressive it is that you took apart, and put back together!!! a 401. Next level stuff and way beyond where I am.
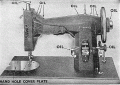
As to the screw, it would appear it sets in a recess and something moves around it. Maybe a hold down for one of the cams in the stack? That's where I would start. If you can find a parts diagram maybe you could try to match up the screw to something on that.
As to the screw, it would appear it sets in a recess and something moves around it. Maybe a hold down for one of the cams in the stack? That's where I would start. If you can find a parts diagram maybe you could try to match up the screw to something on that.
11-17-2020, 12:30 PM
#7
Senior Member

Join Date: Jun 2011
Location: Massachusetts
Posts: 775
First, let me say how impressive it is that you took apart, and put back together!!! a 401. Next level stuff and way beyond where I am.
As to the screw, it would appear it sets in a recess and something moves around it. Maybe a hold down for one of the cams in the stack? That's where I would start. If you can find a parts diagram maybe you could try to match up the screw to something on that.
As to the screw, it would appear it sets in a recess and something moves around it. Maybe a hold down for one of the cams in the stack? That's where I would start. If you can find a parts diagram maybe you could try to match up the screw to something on that.
Great job reviving that machine, Gearsandsuch! I'm in awe.
11-17-2020, 09:07 PM
#8
Member
Thread Starter
Join Date: Sep 2020
Posts: 31
Thanks! Just to be clear, it's a 403A (not a 401A). So no built-in camstack.
It's weird to have a screw left over when I had all the screws needed to put all the parts back on. I'll take a look at the parts list/diagram.
I never would have tried tackling this project (or even buying a vintage machine in poor condition) if I hadn't found the wonderful AndyTube series of videos on YouTube. All hail, Andy!
11-18-2020, 03:08 AM
#9
Member
Join Date: Sep 2020
Location: North Texas
Posts: 6
Thanks! Just to be clear, it's a 403A (not a 401A). So no built-in camstack.
It's weird to have a screw left over when I had all the screws needed to put all the parts back on. I'll take a look at the parts list/diagram.
I never would have tried tackling this project (or even buying a vintage machine in poor condition) if I hadn't found the wonderful AndyTube series of videos on YouTube. All hail, Andy!
It's weird to have a screw left over when I had all the screws needed to put all the parts back on. I'll take a look at the parts list/diagram.
I never would have tried tackling this project (or even buying a vintage machine in poor condition) if I hadn't found the wonderful AndyTube series of videos on YouTube. All hail, Andy!
