
Curving Out
 01-31-2017, 11:08 PM
#1
Senior Member
Thread Starter
Join Date: May 2015
Posts: 383
Haven't had my machine (Juki 2010-love) for a long time but I was fiddling around making a mug rug today & upon inspection I noticed I was "opening" up or curving at the end of my seams. I know it's operator error but I think my guide might be contributing too. What do you think? & yes I can see all the mistakes too!! Lol
[ATTACH=CONFIG]567232[/ATTACH]
[ATTACH=CONFIG]567233[/ATTACH]
[ATTACH=CONFIG]567232[/ATTACH]
[ATTACH=CONFIG]567233[/ATTACH]

 02-01-2017, 04:14 AM
#3
Super Member
Join Date: Mar 2011
Location: Central NJ
Posts: 5,572
It's a common problem regardless of machine. I keep my index finger on the fabric and hold it up against the edge of my foot at the beginning and ending of seams. Helps quite a bit. You could also use a stiletto if you're nervous about your fingers being that close to the needle - just keep downward pressure on your fabrics as well.
02-01-2017, 05:08 AM
#5
Power Poster
Join Date: Jan 2011
Location: Southern USA
Posts: 16,421
02-01-2017, 07:25 AM
#9
Super Member
Join Date: Apr 2012
Posts: 1,165
I bought the T Guide. It doesn't move (It's screwed in) and I can position for scant quarter inch if I want to.
It's also far longer and no curve like the magnetic one. Means I can use the regular foot with no problem. Have had better luck using it. Disadvantage is getting it on and off.
What I don't like about the compensating foot is it's not marked as to where you would stop to turn a corner as in some binding methods. I did mark mine. I've mostly marked all the feet at 1/4 inch in from needle hole to front of foot.
02-01-2017, 09:18 AM
#10
Super Member

Join Date: Jul 2013
Location: South Dakota
Posts: 8,151
This has really helped me to sew straight lines -
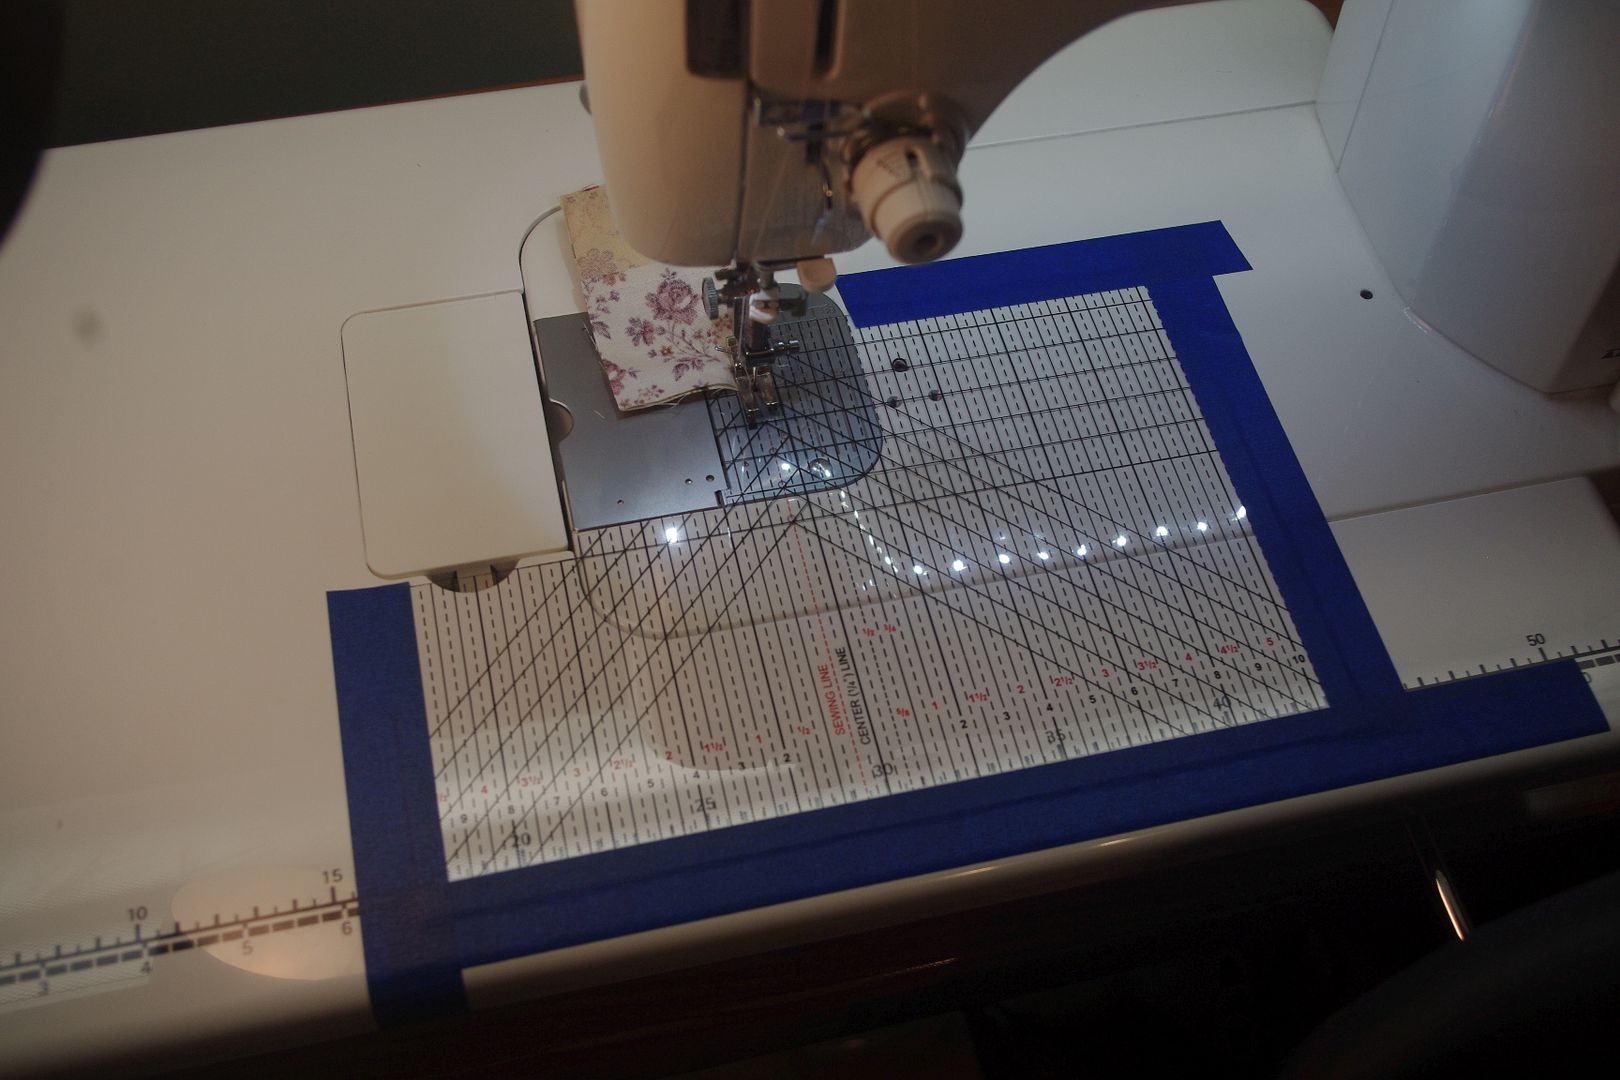
I cut it so I don't have to remove anything to change bobbins. Had it on for several months now and sure love it, as it also takes care of that little bump from the throat plate that gave me occasional grief.
I can untape the part on the machine and leave the rest taped to the extension table, remove the table and do any maintenance on the machine. Then put the bed back and retape the part on the machine and I'm good to go!
I have it cut very close to the feed dogs, and have not had any feeding problems since putting it on. It's really helped with HST and flying geese too.

Thread
Thread Starter
Forum
Replies
Last Post
