ACT III:
The wiring on this cord block was somewhat different from most. The outlet cord was in good condition. A few scuffs and abraded places but flexible and sound with no bare spots.
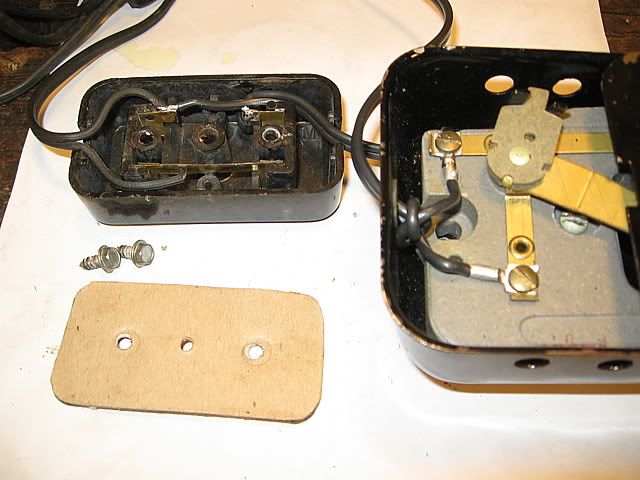
The block was pretty bad. The rivets or screws, I’m not really sure what they are, were badly rusted. I had to use my Dremel tool to grind the heads off so I could remove the cardboard bottom to the block. Once the cardboard part was removed I was able to turn the rivet-screws out so perhaps they were screws with a very fine thread.
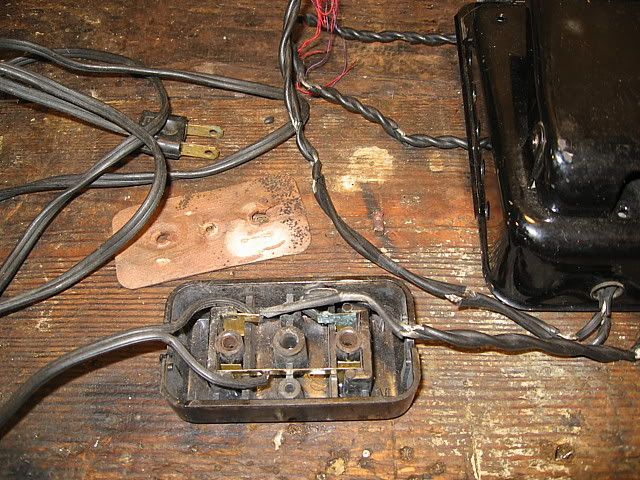
The cord from the cord block to the foot controller was broken in so many places there was a lot of bare wire. What little insulation was there was crispy as uncooked spaghetti.
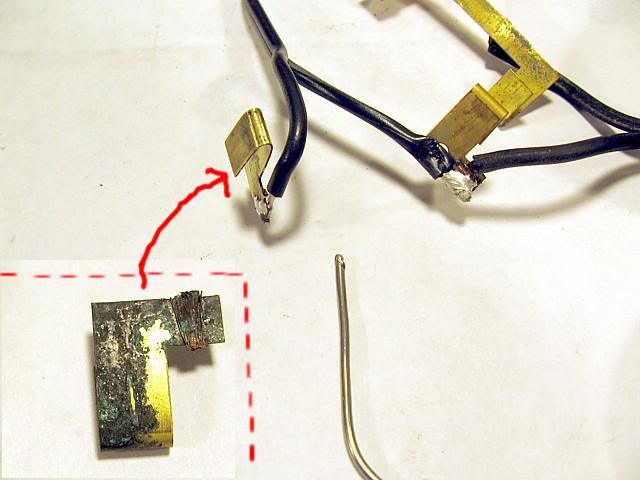
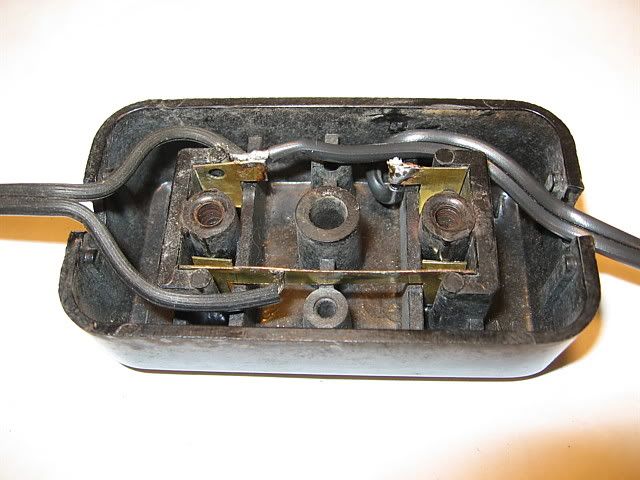
Inside I found corroded contacts on one side and fairly clean contacts on the other side.
I removed the corroded contacts and cleaned them, then soldered new wire to them.
Since the cardboard back to the cord block was moldy and damaged I added a layer of tablet back to it and glued it on. Then I scared up a couple #6 size sheet metal screws to replace the old rivet-screws. I set these aside while I worked on the foot controller.
This foot controller was in great shape. It is very clean inside, no corrosion, no signs of over heating, nothing wrong at all.
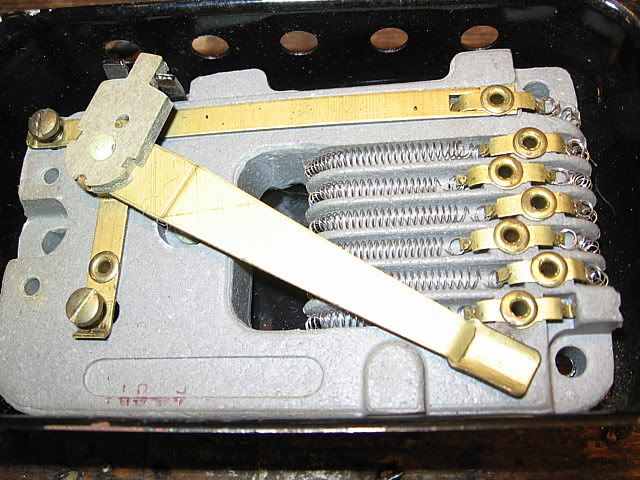
But just in case there was some corrosion I couldn’t see I cleaned the contacts anyway.
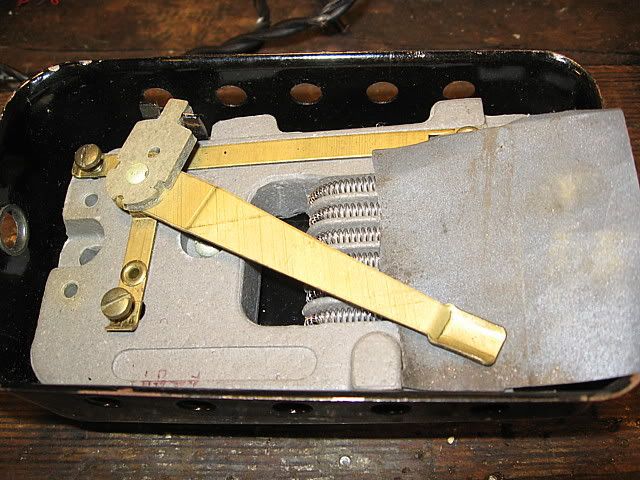
First I put a piece of 600 grit sand paper rough side down and while holding it loosely around the arm I worked the arm back and forth a couple times with the foot pedal.
Then I reversed the sand paper and rand the arm over it to clean its’ contact area.
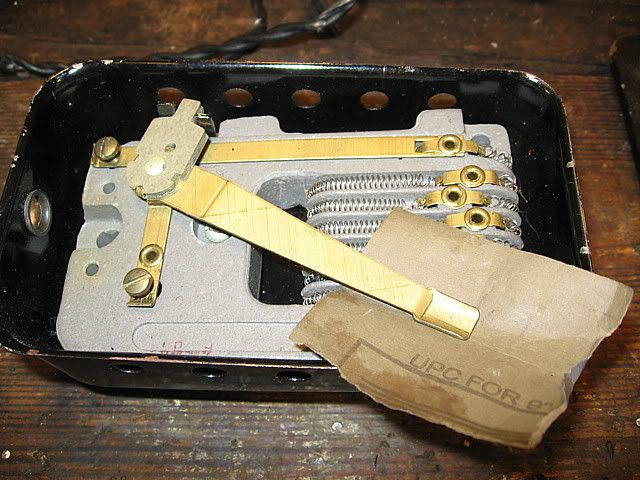
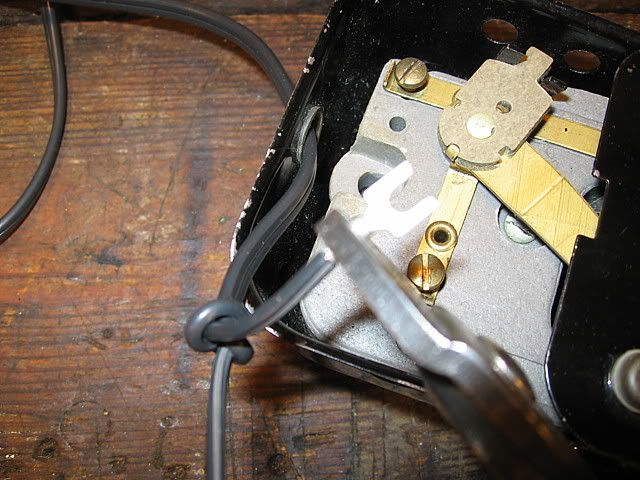
After that I put the new cord through the hole in the controller housing and tied an Underwriters knot in it to prevent stress on the connections.
Then I crimped on the new connectors,
and soldered them for added security.
The wiring is all repaired now. But before I reassembled it here’s a pic of all the newly done repairs.