
Singer model 15 - AJ?
 03-19-2022, 06:36 AM
#1
Member
Thread Starter
Join Date: Mar 2022
Posts: 26
First off I want to preface this by saying I am completely new to vintage machines and have very little knowledge, other than what I've read up on the internet. I'm also new to QB and I'm not sure if I'm using this forum correctly and apologize in advance if not. Just don't know where else to turn.
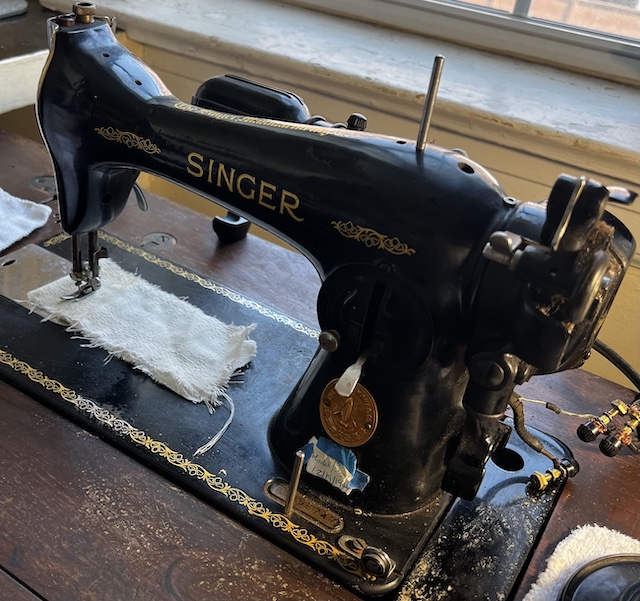
I recently purchased a Singer 15, 1949 model. It has an AJ model # and I'm not exactly sure how to tell what it is. I'm assuming it's a 15-91 but I could be completely wrong.
I could tell the wiring needs to be redone, which wasn't hard seeing how the guy had a mountain of electrical tape over exposed wires. He did plug it in at his house and the machine sewed beautifully so I assume the motor is in good condition as it worked and sounded gorgeous.
My model # is AJ296747.
 03-19-2022, 07:23 AM
#2
Super Member

Join Date: Mar 2015
Location: Denver, CO
Posts: 4,672
Welcome. There were several different domestic models of the 15. Frequently someone will think they have a 15-91 when they actually have a 15-90 or one of the other domestic models. The 15-91 has a potted motor as seen at https://ismacs.net/singer_sewing_mac...g-machine.html There is an excellent tutorial on rewiring a potted motor at http://vssmb.blogspot.com/2011/12/ho...rt-1-wire.html
The 15-90 has an external motor and uses a belt.
We like pictures. In order to post pictures on Quilting Board, you will probably need to reduce or compress the picture to a file size that is smaller than 2MB. How to post images can be found at https://www.quiltingboard.com/attach...020-01-17-.pdf
Don't forget to scroll over to the far right to find and click on the "Upload" button.
I have found that only the big red "Reply" button or "Quote" work to give me the paper clip icon to work for adding pictures.
https://www.quiltingboard.com/attach...p-location.jpg
Some additional info regarding reducing images at post #4 and images for the scroll and upload button can be found at #5 of quilt block ID?
Another way to post pictures can be found at 2021/2022, 2.5� Birthday Swap
Or simply - Make sure pictures are smaller than 2MB
Click on red "Reply" button
Click on the paper clip icon
Click browse - choose picture/s. (only 5 allowed per post)
Once they show up as being loaded, Scroll over to the right side and click on "Upload"
After the pictures show up as being attached, you can close that window and go back to the screen to finish posting your post.
Janey - Neat people never make the exciting discoveries I do.
Not affiliated with off-site link(s)
03-19-2022, 11:01 AM
#3
Senior Member
Join Date: Apr 2020
Location: South of St Louis
Posts: 862
Welcome to the QB! I have found this page helpful in distinguishing among variations of a given model:
https://ismacs.net/singer_sewing_mac...sses-1-99.html
https://ismacs.net/singer_sewing_mac...sses-1-99.html
 03-19-2022, 01:04 PM
#5
Senior Member
Join Date: Apr 2020
Location: South of St Louis
Posts: 862
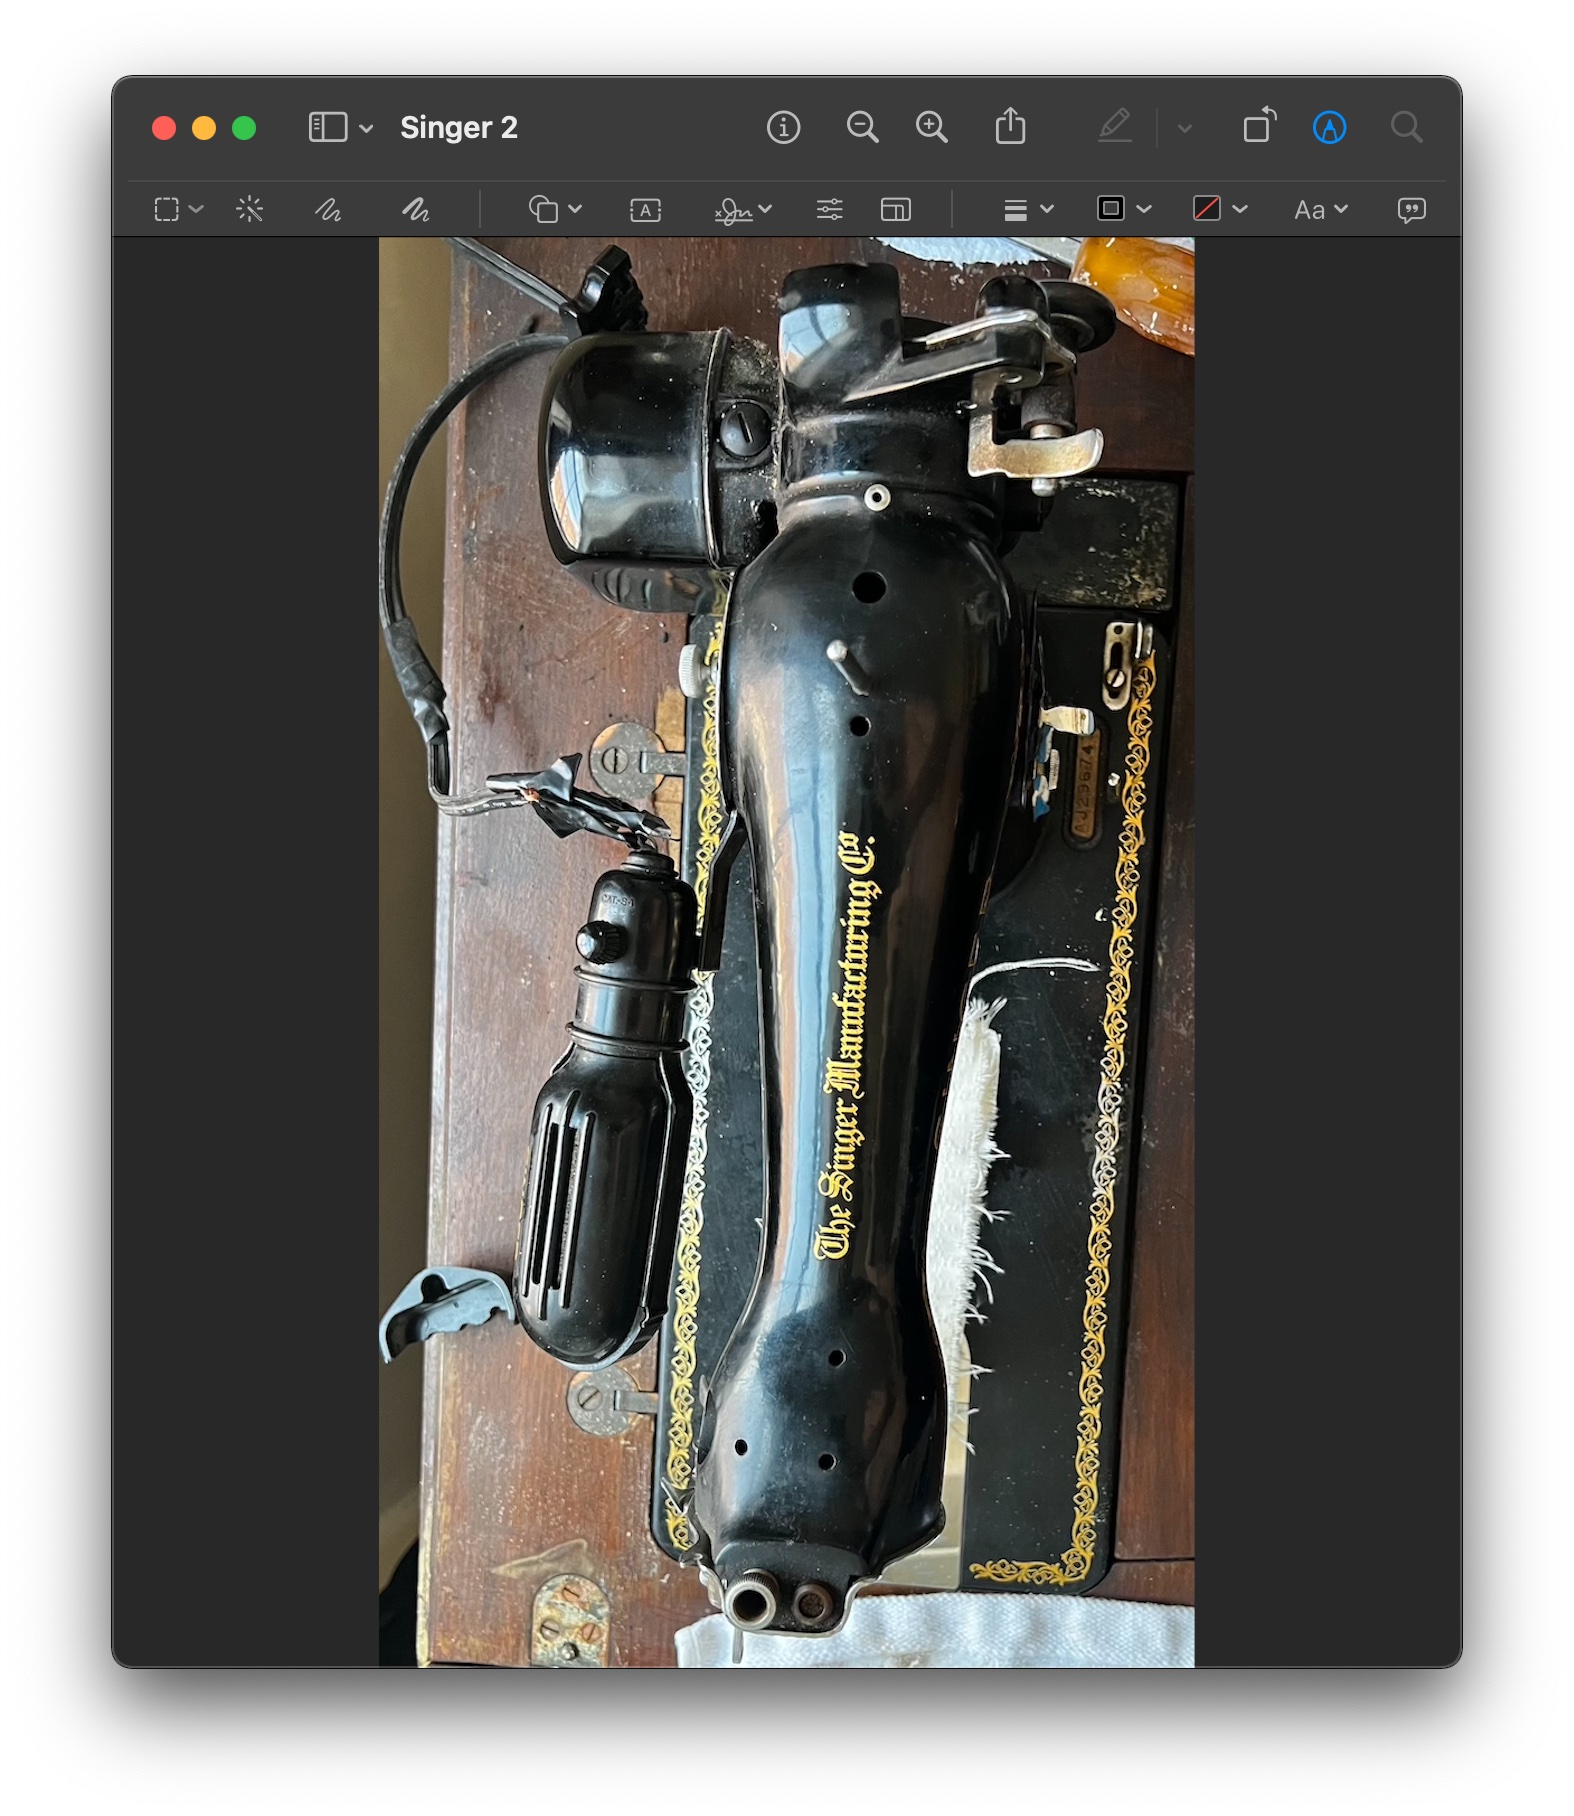
I would say a 15-91. I'm not going to lie to you, those wires hanging off the side make me a little nervous. They should all run to the back side of the plug under the hand wheel.
You can find lots of information on fixing the wiring on these potted motors, and that light too. Invest in some soldering tools and heat shrink tubing.
You can find lots of information on fixing the wiring on these potted motors, and that light too. Invest in some soldering tools and heat shrink tubing.
03-19-2022, 01:10 PM
#6
Senior Member
Join Date: Apr 2020
Location: South of St Louis
Posts: 862
And please do me a favor and unscrew the presser foot pressure screw over on the other end of the machine. I don't know what it is, but on almost every machine I've picked up the pressure foot pressure is maxed out, i.e. on the black Singers the screw is all the way down. I am not sure what was being sewn which might require that kind of pressure.
03-19-2022, 01:18 PM
#7
Member
Thread Starter
Join Date: Mar 2022
Posts: 26
I would say a 15-91. I'm not going to lie to you, those wires hanging off the side make me a little nervous. They should all run to the back side of the plug under the hand wheel.
You can find lots of information on fixing the wiring on these potted motors, and that light too. Invest in some soldering tools and heat shrink tubing.
You can find lots of information on fixing the wiring on these potted motors, and that light too. Invest in some soldering tools and heat shrink tubing.
The plug is actually broken but I found a replacement part for it. I'm debating on adding a ground connection just incase there's a power surge or anything. My building is old and the electric is weird here.
Also the wiring in the pics are after I started taking things apart.
03-19-2022, 01:18 PM
#8
Member
Thread Starter
Join Date: Mar 2022
Posts: 26
And please do me a favor and unscrew the presser foot pressure screw over on the other end of the machine. I don't know what it is, but on almost every machine I've picked up the pressure foot pressure is maxed out, i.e. on the black Singers the screw is all the way down. I am not sure what was being sewn which might require that kind of pressure.
03-19-2022, 01:25 PM
#9
Senior Member
Join Date: Apr 2020
Location: South of St Louis
Posts: 862
See blue arrow in the photo. I know they used quality steel in these machines, and the springs are tough, but I don't like having them under tension for maybe...say...20 or 30 years before I get them.
03-19-2022, 01:37 PM
#10
Member
Thread Starter
Join Date: Mar 2022
Posts: 26
Should I completely remove it? Or just unscrew it a bit? Sorry I sound like such a noooob!
